Export model objects
Using the Migration feature, you can export the model objects of a Collibra environment, for example if you want to import them later in another environment.
Note Exporting and importing CMA files is restricted by the file upload settings, which determine the maximum file size, allowed file extensions, and maximum number of uploads and downloads per day.
Prerequisites
You have a global role with the Product Rights > System administration global permission.
Steps
-
On the main toolbar, click
 →
→
 Settings.
The Settings page opens.
-
Click Migration.
The migration page appears on the Export tab page. - Select the model objects that you want to export.
Note Referenced model objects are also exported based on the export logic. For example, if you export a workflow, all roles to which the workflow refers are also exported.
- In the upper-right corner, click Export.
The Provide file name and description dialog box appears.
- Enter the required information.
- Archive file name: The name of the exported archive file. The extension is always CMA, which is short for Collibra Migration Archive.
- Report file name: The name of the report file, which contains a summary of the exported model objects, is automatically populated from the Archive file name.
- Description: A description of the archive.
- Click Export.
The report and the archive are downloaded.
- Click Close.
Model objects export steps
|
Model objects |
Steps |
|---|---|
|
Assignments, global roles, resource roles, and workflows |
At the top of the page, click the corresponding tab and select one or more items. Click Select all to export all items of that type. Tip For assignments, you can also click the name of a scope to export all assignments in that scope. |
|
Views |
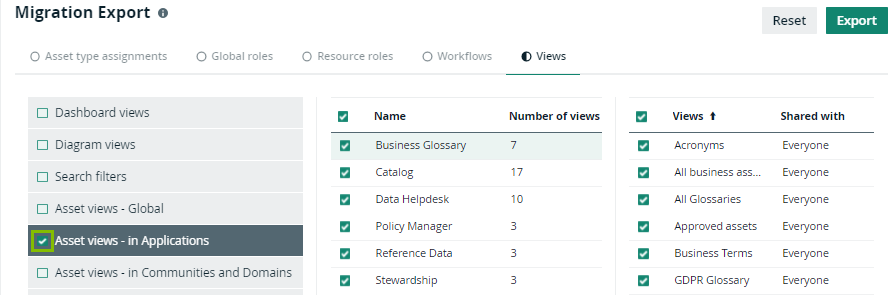
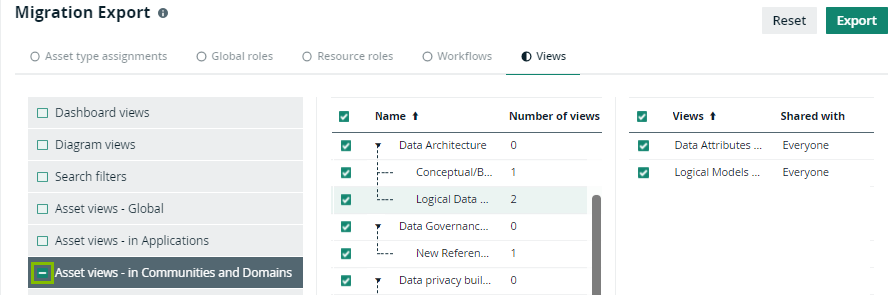
You can export different types of views, including asset views, dashboards, diagram views and search filters. At the top of the page, click Views, then in the filter pane to the left, select the type of view you want to export. Note You can only export views that are public or shared with a global role.
|
|
Dashboard views, diagram views, search filters, global asset views
|
Tip To export all available views of a certain type, you can select the checkbox in front of the view type in the filter pane. |
|
Asset views in application pages
|
|
|
Asset views in communities and domains pages
|
|
|
Asset views - default for domain types
|
Note To appear in this list, a view must be public and configured as the default view for a domain type. To set a domain view as a domain type default, go to Settings → Operating Model → Domain types.
|