Run a query in a notebook
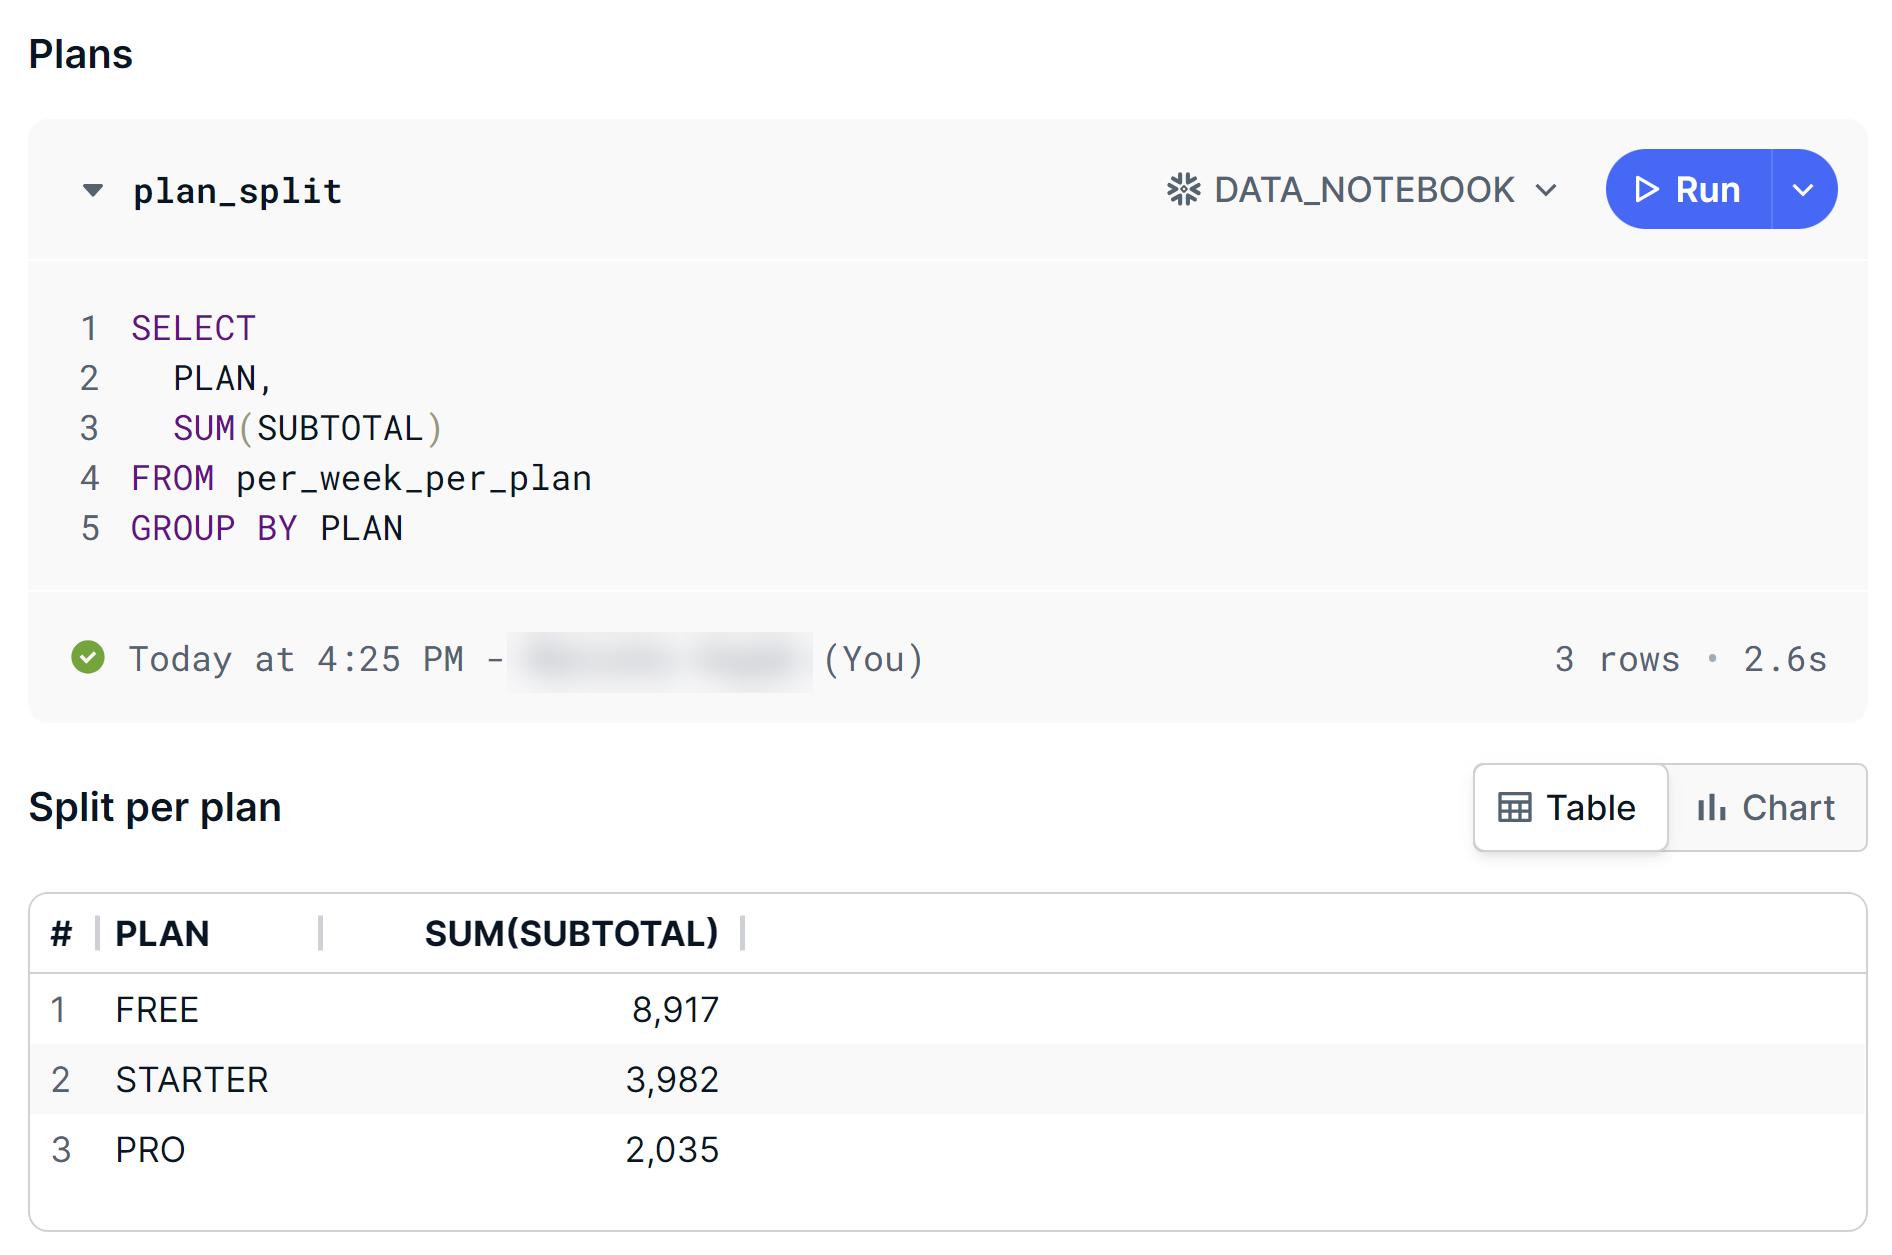
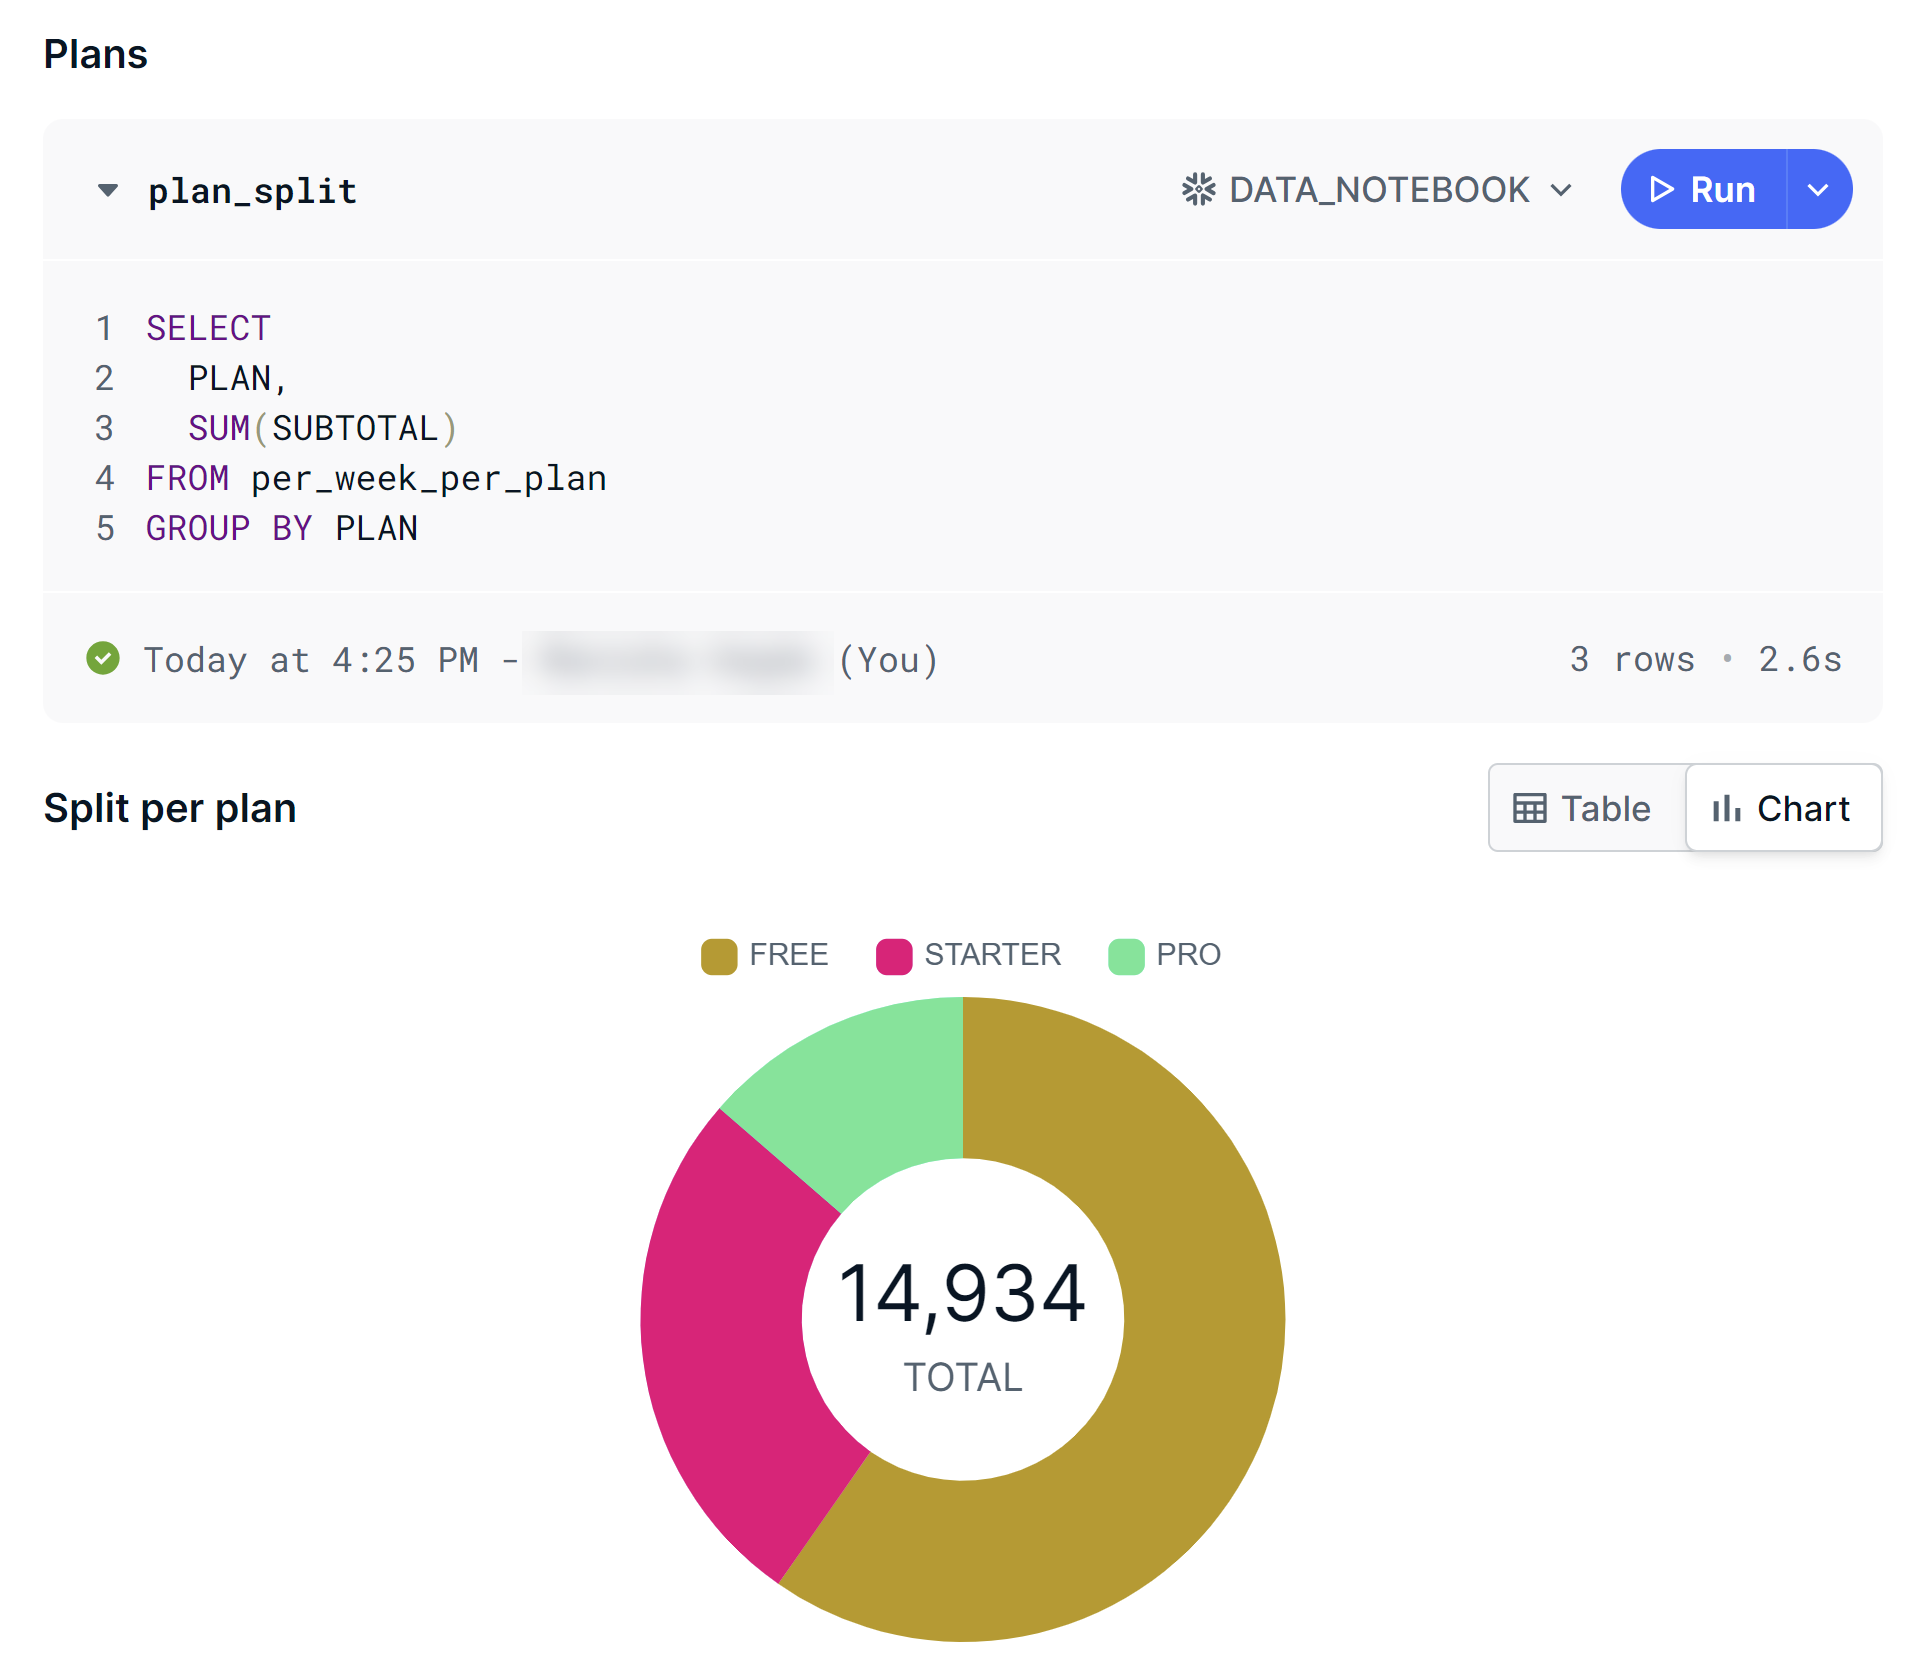
After creating a notebook, you can write and run SQL queries against different data sources within the same notebook. Query results can be viewed as a table or chart.
Prerequisites
- You have a global role with the Product Rights > Data Notebook global permission.
- A data source for Data Notebook is registered.
Steps
- Open the notebook.Show more information
-
On the main toolbar, click
→ Data Notebook.
- Click the notebook.
-
On the main toolbar, click
- In a new line, enter two forward slashes (//).
A query block appears. - Enter a title to identify your query.
Tip You can use this query in another SQL query within the same notebook.
- Write your query.Note If you can't write or run a non-query statement (for example, UPDATE), it is because your administrator has restricted it.
- Connect to a data source.
- On the menu next to the query title, select a database.
- Click Run.Tip
- If the data source requires personal credentials to connect to the data source, a dialog box may appear again to prompt you to enter your credentials. In the dialog box, the value in the Duration field indicates the amount of time you want to remain connected to the data source. The default duration is 2 minutes. You can, however, change the duration.
- To reduce database load, by default, only the first 100 rows of query results are returned. To remove this limit, on the Run menu of the query block, clear the 100-row limit on this query option, and then click Run again. This option is shown only if the Allow users to query beyond the 100-row limit setting is enabled by your administrator. The maximum number of rows of query results that can be returned is 100,000.
- To stop running the query, on the Run menu of the query block, click Cancel execution.
Query results are shown.

Tip
- You can edit the query and run it again.
- To run all the queries in the notebook at once, in the leftmost pane, click Execution, and then click Run all queries. Alternatively, you can use the following keyboard shortcut, depending on your operating system:
- macOS: Press Command+Shift+Enter
- Windows: Press Ctrl+Shift+Enter
- When viewing the query results as a table, to resize the table, drag its border.
- To change a column's display name, hover your pointer over the column, click
 , enter the new name in the Display name field, and then click outside.
 - To change the number format in a column, hover your pointer over the column, click
 , and then select the new format in the Format field.
 - To download or view the table or chart in full screen, hover your pointer over it, and then click Download results or Download image. If you can't find the Download results button on a table, it is because your administrator has hidden it.
Publish the notebook to create an asset.