This section describes how to set up Insights Data Access on Amazon Web Services (AWS) with S3 bucket storage and AWS Athena query service.
Tip For information on how to set up Insights Data Access on the Google Cloud Platform, go to Set up Insights on GCP.
Prerequisites
You have the following:
- Collibra Platform 5.7 or newer.
- License for Collibra Insights.
- Software for working with Parquet files.
Steps
- Download a data snapshot from your Collibra environment.
- Upload the data to an S3 bucket.
- Download Insights Data Access from Collibra Marketplace.
- Set up the Insights Data Access model in AWS Athena.
Step 1: Download a data snapshot from your Collibra environment
- Enter the following URL in your browser:
<your-Collibra-environment-URL>/rest/2.0/reporting/insights/directDownload?snapshotDate=<snapshot_date>&format=zipTip <snapshot date> is the date from when you want the data, formatted as YYYY-MM-DD, for example, 2023-09-29. Ensure that the date you enter is within the last 31 days or is the last day of a month.A ZIP file of the data from your Collibra environment, for the specified date, is downloaded to your hard disk. - Extract the ZIP files on your local computer.
A folder with the name of the ZIP file is created.
Step 2: Upload the data to an S3 bucket
Note This needs to be done only once for the collection Tableau workbook files. After that, you need to perform this step only if the data layer model changes.
- Sign in to your AWS account.
- On the main menu, expand the Services page, and then select S3.
- On the Buckets tab, click Create bucket.

The Create bucket dialog box appears. - In the Bucket name field, enter a name for the bucket you are creating, for example, collibra-insights.
- Click Next.
- Click Next to bypass the configuration options.
- Clear the Block all public access checkbox to allow access to Tableau.
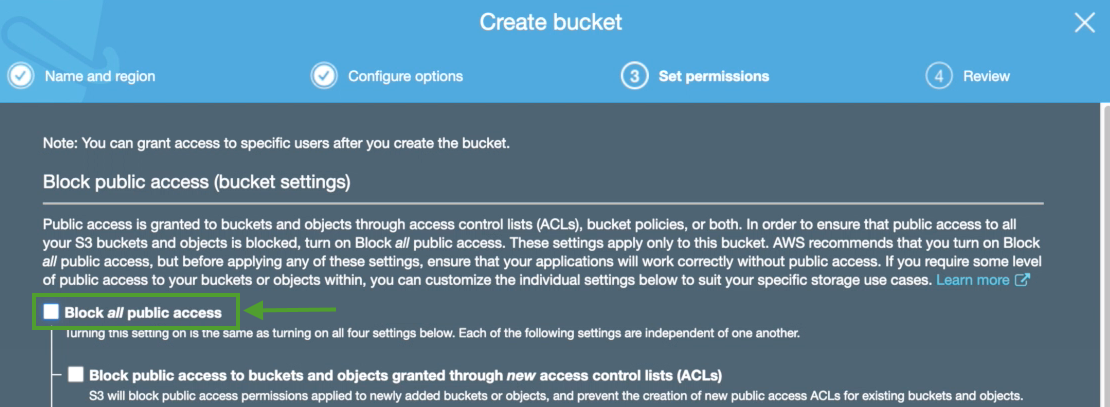
- Click Next.
- Click Create bucket.
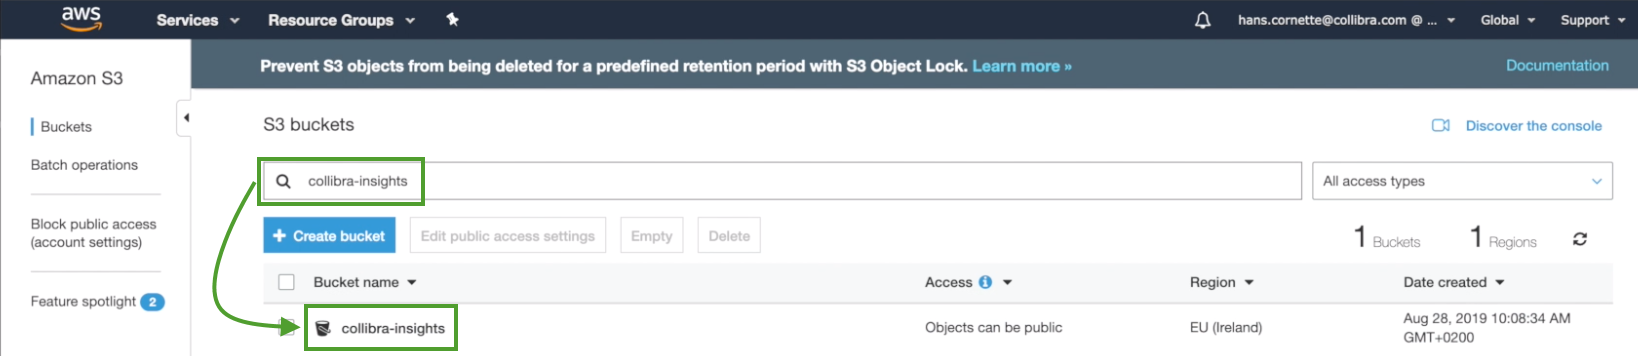
The bucket is created. - On the Buckets tab, search for your newly created bucket, and then click it.
The bucket details page opens. - Click Upload to upload the data you downloaded from your Collibra environment.
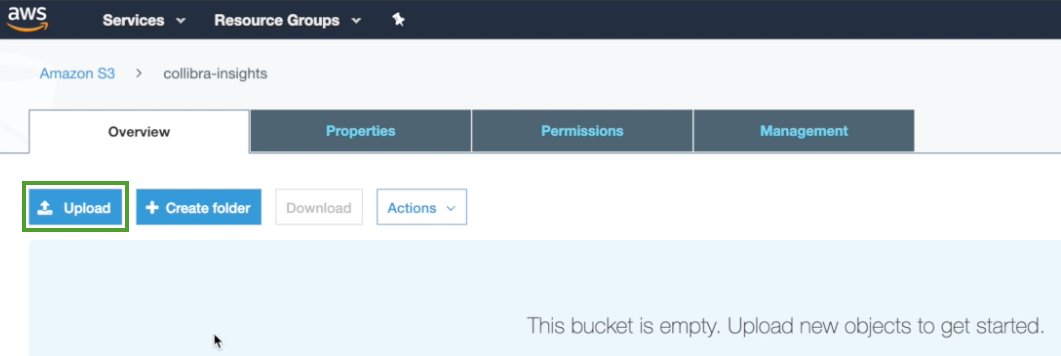
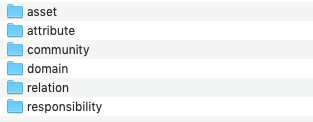
The Upload dialog box appears. - Click Add files, or drag all of the folders in the ZIP file you downloaded from your Collibra environment into the dialog box.
The folders appear in the Upload dialog box. - Click Upload.
The folders are added to the newly created bucket.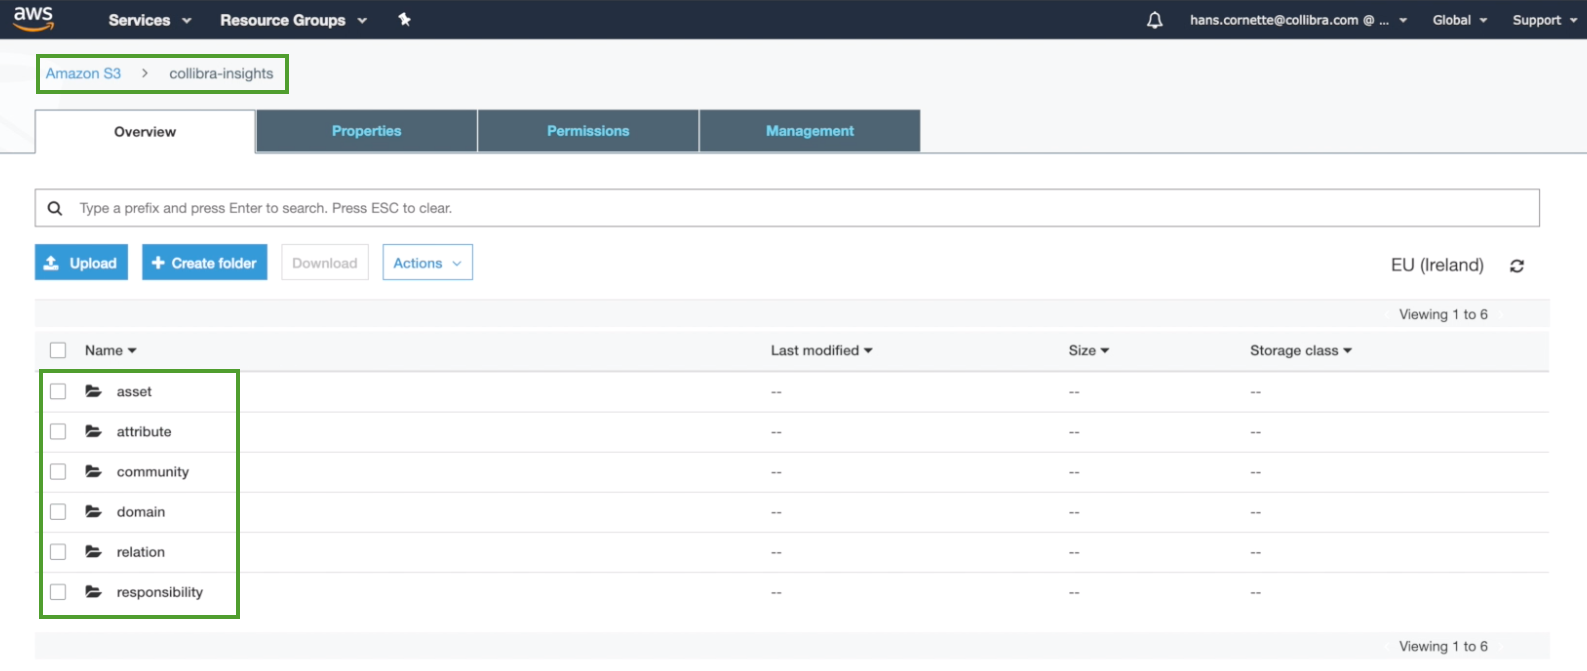
Step 3: Download the Insights Data Access package from Collibra Marketplace
- Go to Collibra Marketplace.
- Download the Insights Data Access package.
A ZIP file is downloaded to your hard disk. - Extract the ZIP file on your local computer.
A folder with the name of the ZIP file is created.
Step 4: Create the Insights Data Access model in AWS Athena
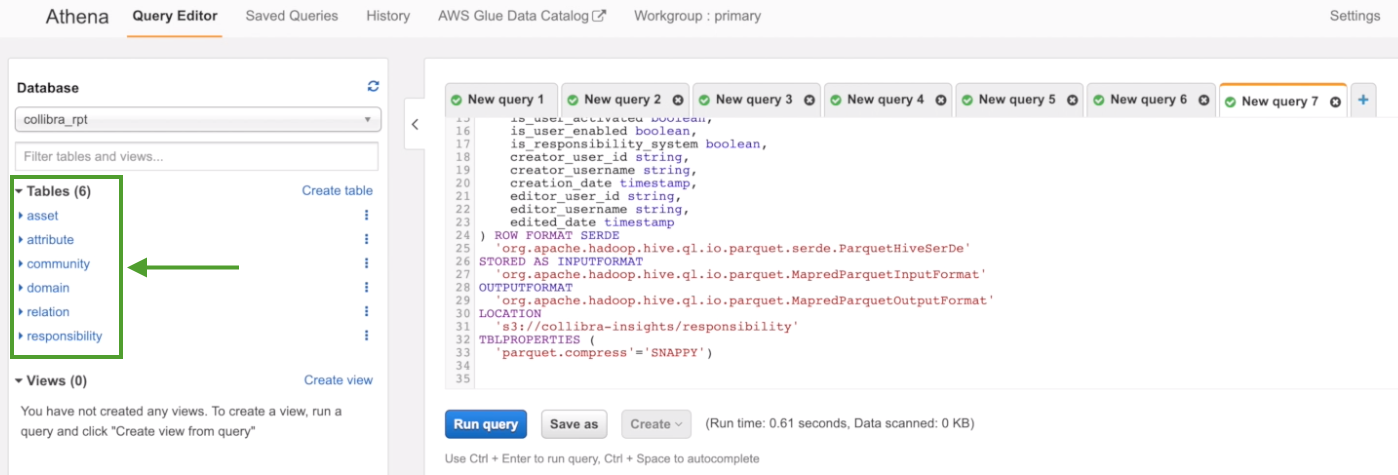
- On the AWS main menu, expand the Services page, and then select Athena.
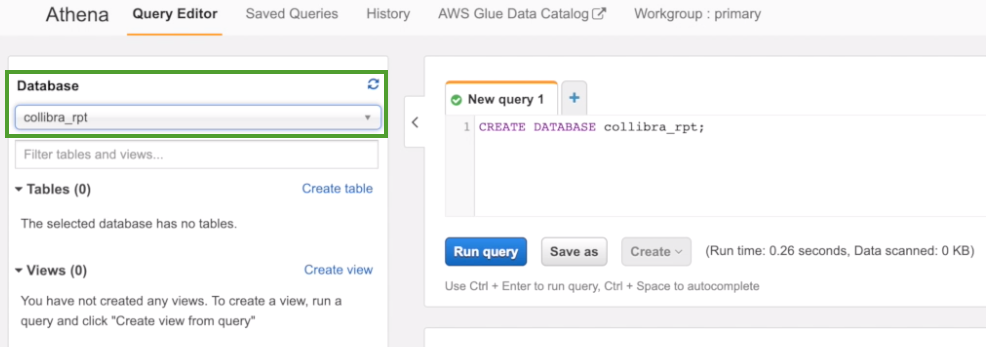
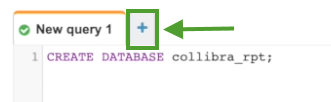
- On the New query tab, enter CREATE DATABASE <name-of-the-database>;.
As shown in the following image (example), a database named collibra_rpt is already created.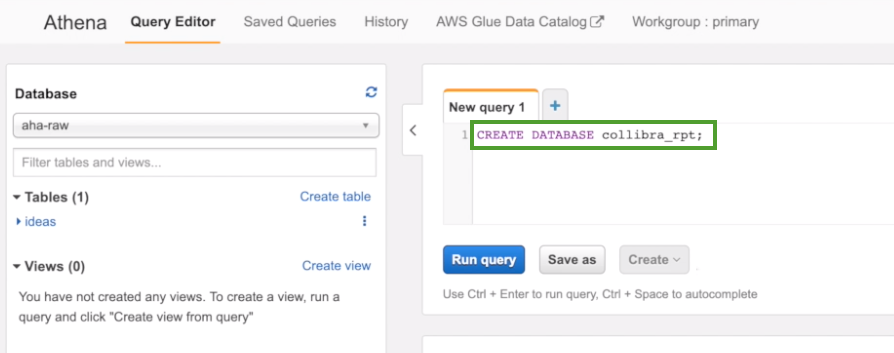
- Click Run query.
- On the Database drop-down menu, select the database you created.
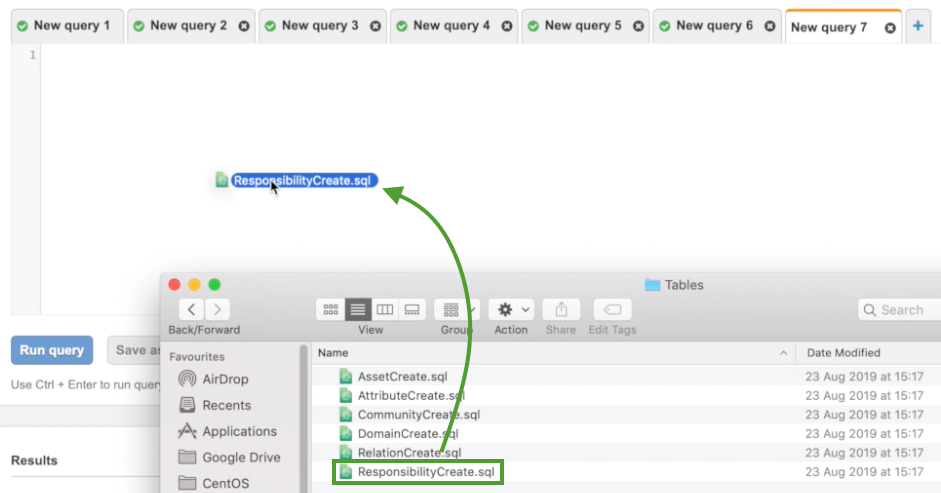
- Click + to add another query.
In the Insights Data Access ZIP file you downloaded from the Marketplace, drag the first SQL file into a new query tab.
The code appears in the query tab. - Change the location to the recently created bucket.
In this example, {{customer_data_location}} is replaced with collibra-insights.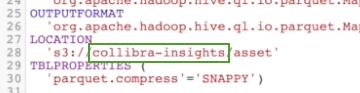
- Click Run query.
- Repeat Steps 5 through 7 for each of the SQL files in the Insights Data Access ZIP file.
When all the steps are completed, all table definitions are shown and Insights Data Access is fully configured.