Complete the initial setup
After installing Collibra DQ Standalone, you are ready to complete the initial setup.
Set the license key and name
After executing the setup.sh script, set the license key and name. They are provided by Collibra in your license provision email. Use the following commands:
export DQ_INSTALL_DIR=/opt
echo "export LICENSE_KEY=<key>" >> $DQ_INSTALL_DIR/owl/config/owl-env.sh
echo "export LICENSE_NAME=<name>" >> $DQ_INSTALL_DIR/owl/config/owl-env.sh
Then restart the DQ Web service:
./owlmanage.sh stop=owlweb
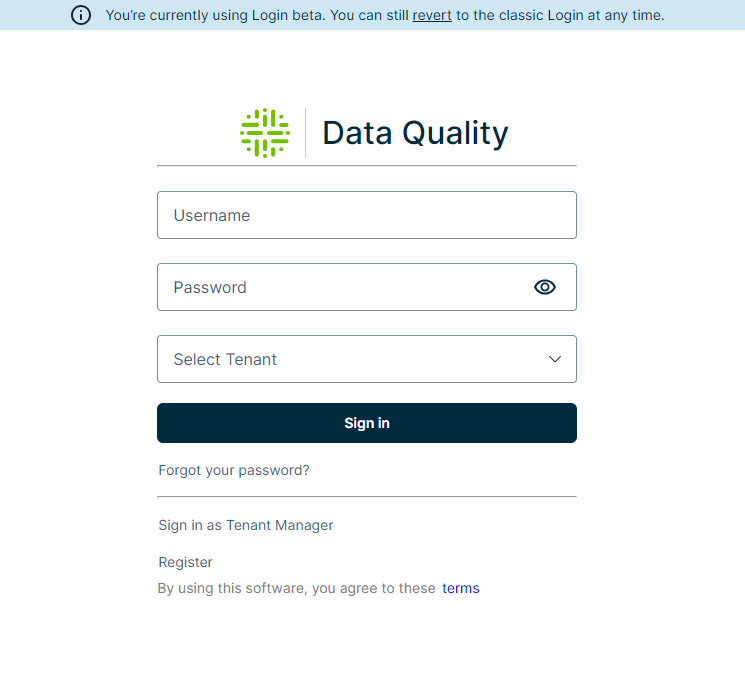
./owlmanage.sh start=owlwebLog in to Collibra DQ
-
- Log in to the admin user account. The username is admin and the password is specified in the environment variable DQ_ADMIN_USER_PASSWORD.
Tip If necessary, select the Remember Me option. After you log out, this option will automatically log you in if you have an active SSO session and SAML is enabled.
<YOUR_SERVER_IP>:9000
The Collibra DQ login page displays.
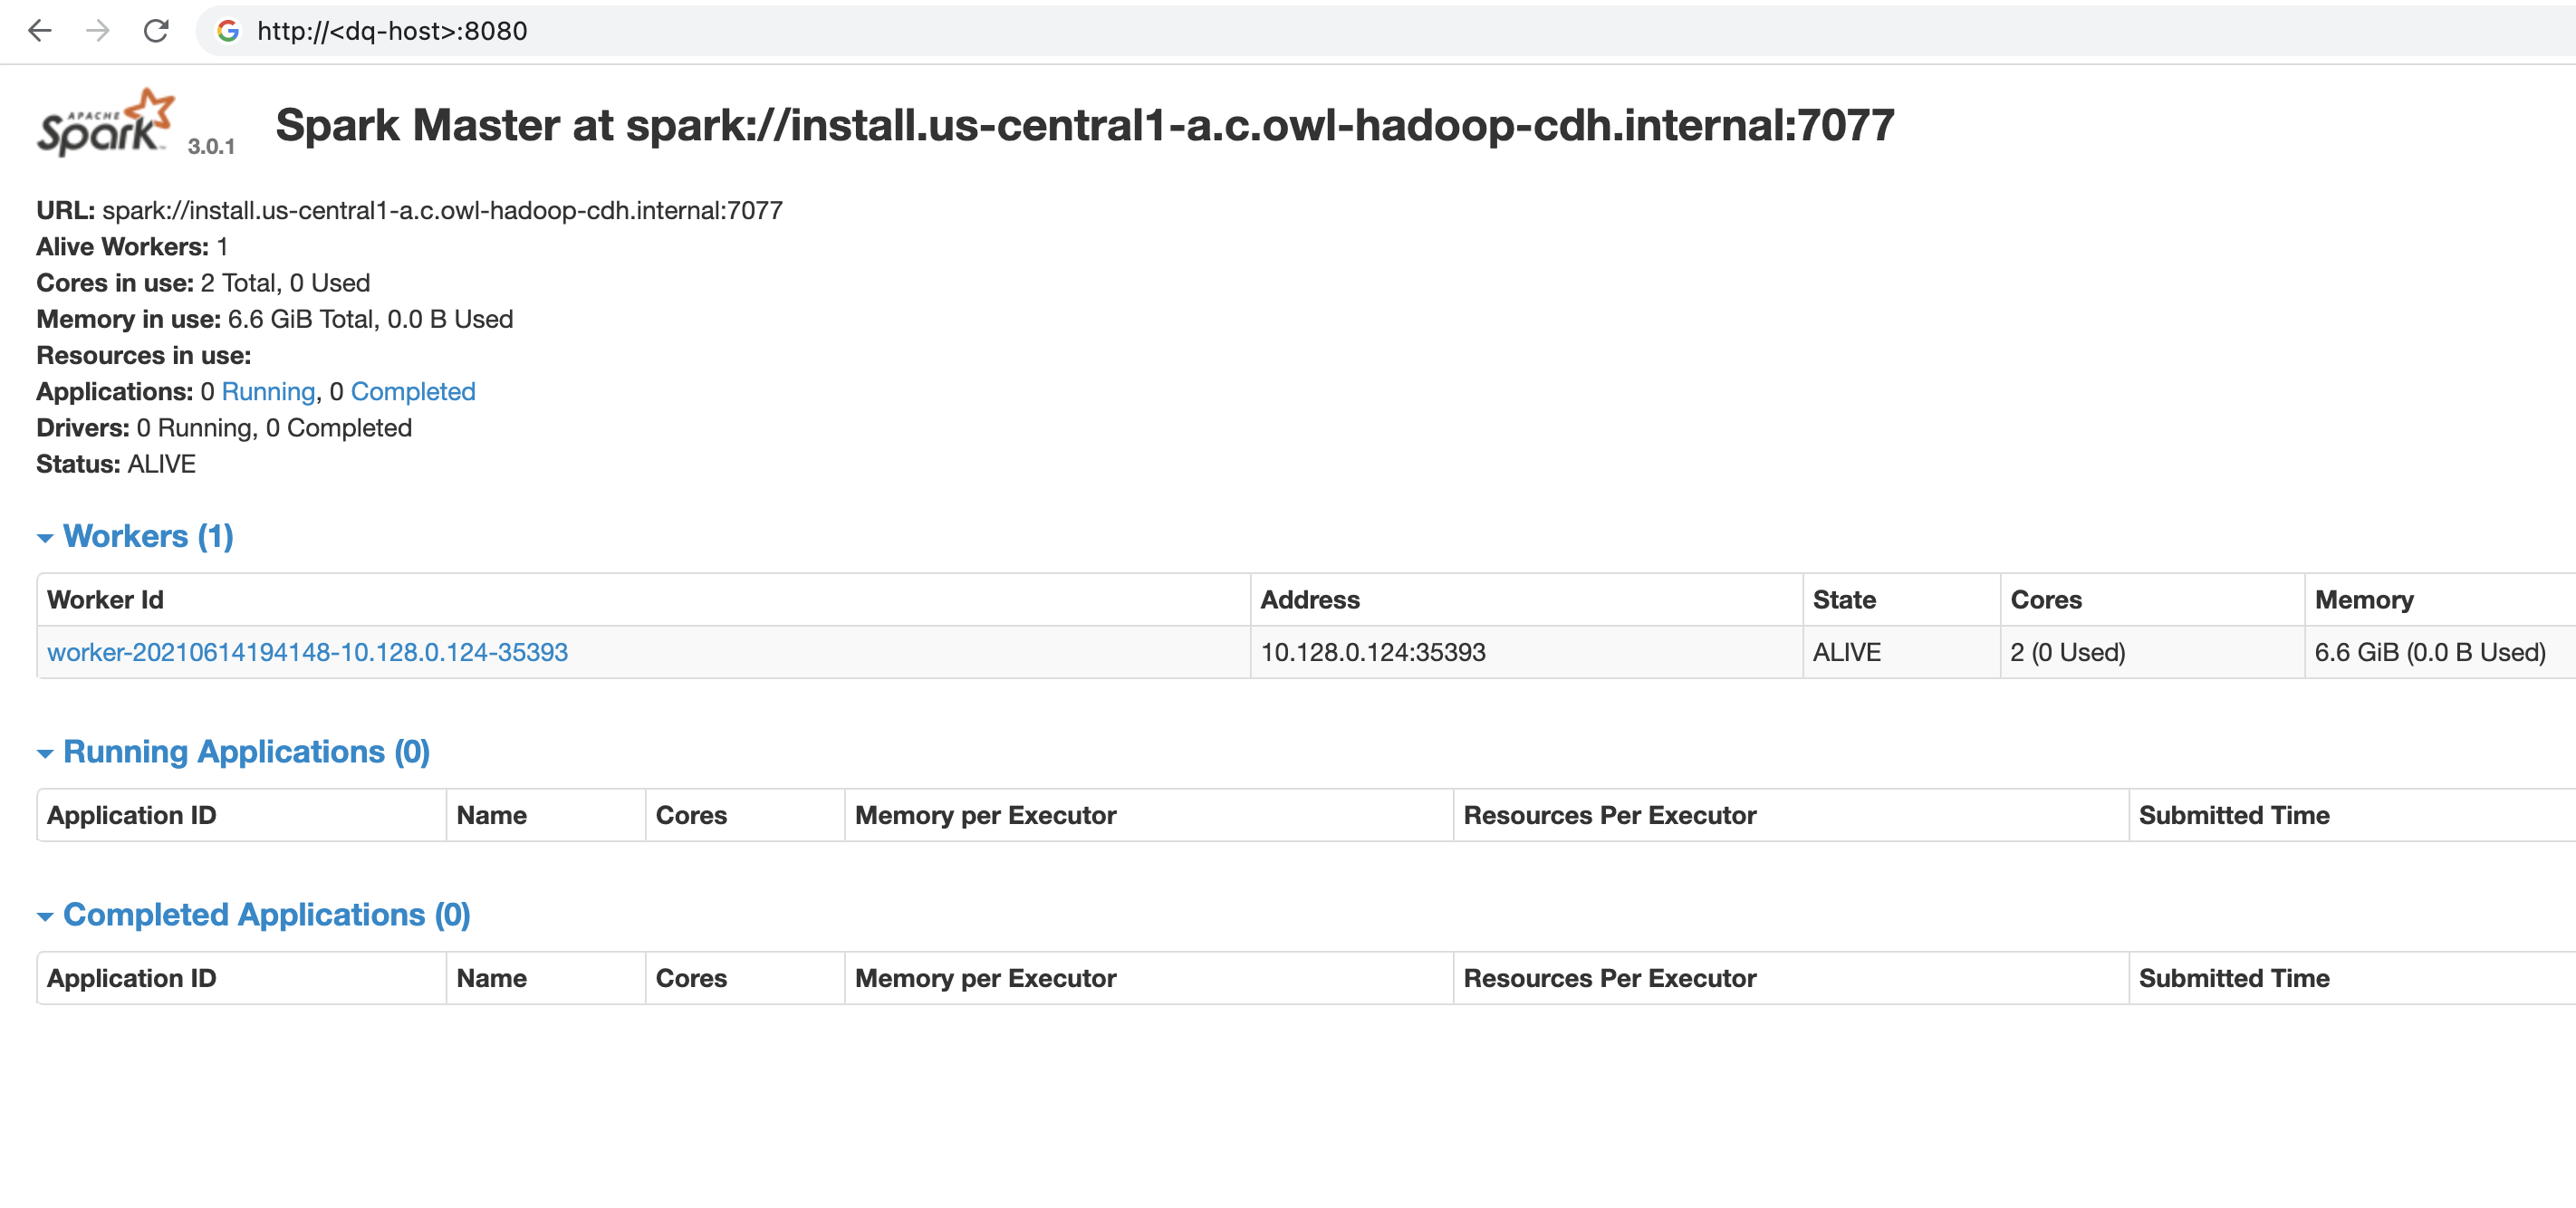
Verify that the Spark cluster has started
- Open the following URL in your browser:
- Take note of the Spark Master URL. It is required during DQ Agent configuration.
<YOUR_SERVER_IP>:8080
The Spark Master page displays.
Update DQ Agent properties
In this step, you'll start the DQ Agent, which creates a file called agent.properties. You'll then stop the agent, edit the agent.properties file, and then restart DQ Agent.
- Start the DQ Agent. Enter the following commands:
- Stop the DQ Agent. Enter the following command:
- Add the following lines to the agent.properties file:
- Start the agent again. Enter the following command:
- The
agent.propertiesfile identifies the number of agents installed on your server. Since this is the first non-default agent installed, the expected number of agents is 2. Verify thatagent.propertiescontains the correct details.
cd $OWL_BASE/owl/bin
./owlmanage.sh start=owlagent
This process creates the file agent.properties in the $OWL_BASE/owl/config directory.
setup.sh, go to Data Quality & Observability Classic Directory Structure. ./owlmanage.sh stop=owlagentsparksubmitmode=native
sparkhome=</your/spark/home/folder>./owlmanage.sh start=owlagentcd $OWL_BASE/owl/config
cat agent.propertiesThe output should include agentid=2.
Edit the DQ Agent configuration
- In the DQ Web, open Admin Console and click Agent Configuration.
- In the row that displays 2 under Agent ID, click Actions and then click Edit. The Edit Agent dialog displays.
- Base Path
- Collibra DQ Core JAR
- Collibra DQ Core Logs
- Collibra DQ Script
- Collibra DQ Web Logs
- Update the paths in these fields to include the proper base path.
- In the Default Master Path field, enter the Spark Master URL that you copied from the Spark Master page.
- Update the values in the following fields based on the requirements of your instance:
- Number of Executors(s)
- Executor Memory (GB)
- No. of Core(s)
- Driver Memory (GB)
- In the Free form (Appended) field, enter the following command:
- In the Default Deployment Mode field, select Client.
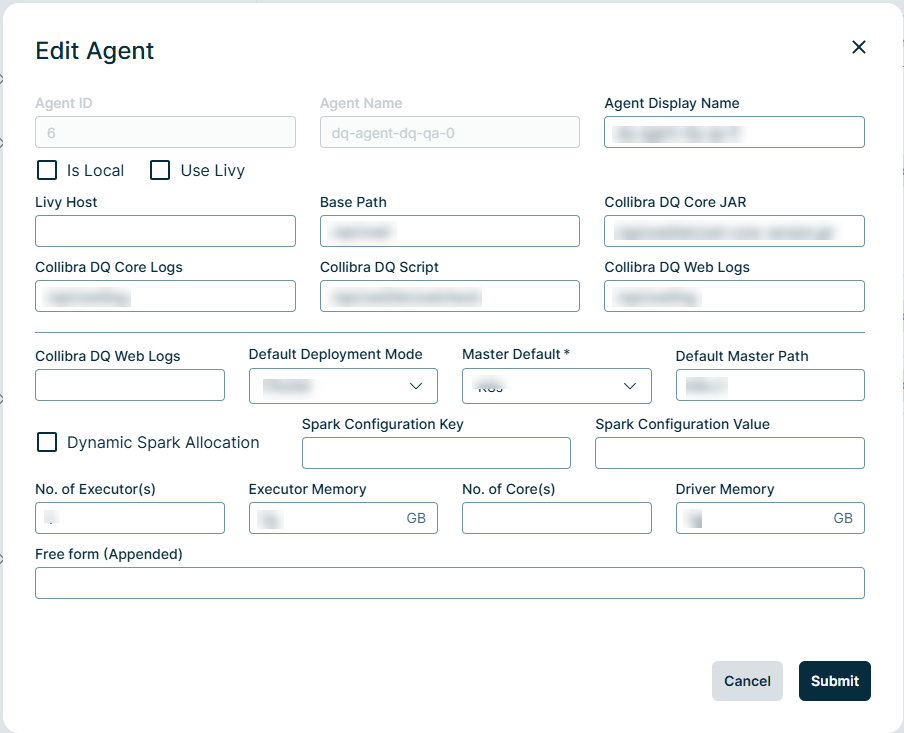
Notice that the paths in the following fields use /opt/owl/ as the base path, which do not match the base path to your instance of Collibra DQ:
owlmanage.sh start=owlagent script does not respect the OWL_BASE environment variable. You must edit the Agent Configuration to follow the OWL_BASE.-conf spark.cores.max=8For more information on configuring the DQ Agent, go to Set up a DQ agent.
Map a connection to the DQ Agent
Follow the steps provided in Map data source connections to a DQ agent.
Run the first DQ job
- In the DQ Web, open the Explorer page.
- Select a connection, schema, and table.
- Click Create DQ Job.
For more information on DQ jobs, go to Create a DQ job.