Define column masks
In Data Access, a column mask is a type of access control that masks data in specific columns for everyone except its beneficiaries.
You define a column mask in three parts:
- Masked columns: The columns that the column mask applies to. Their data is masked for everyone, including users who already have access on the tables or views that contain those columns.
- Masking method: How the data in the columns is masked.
- Beneficiaries: Users who can see unmasked data.
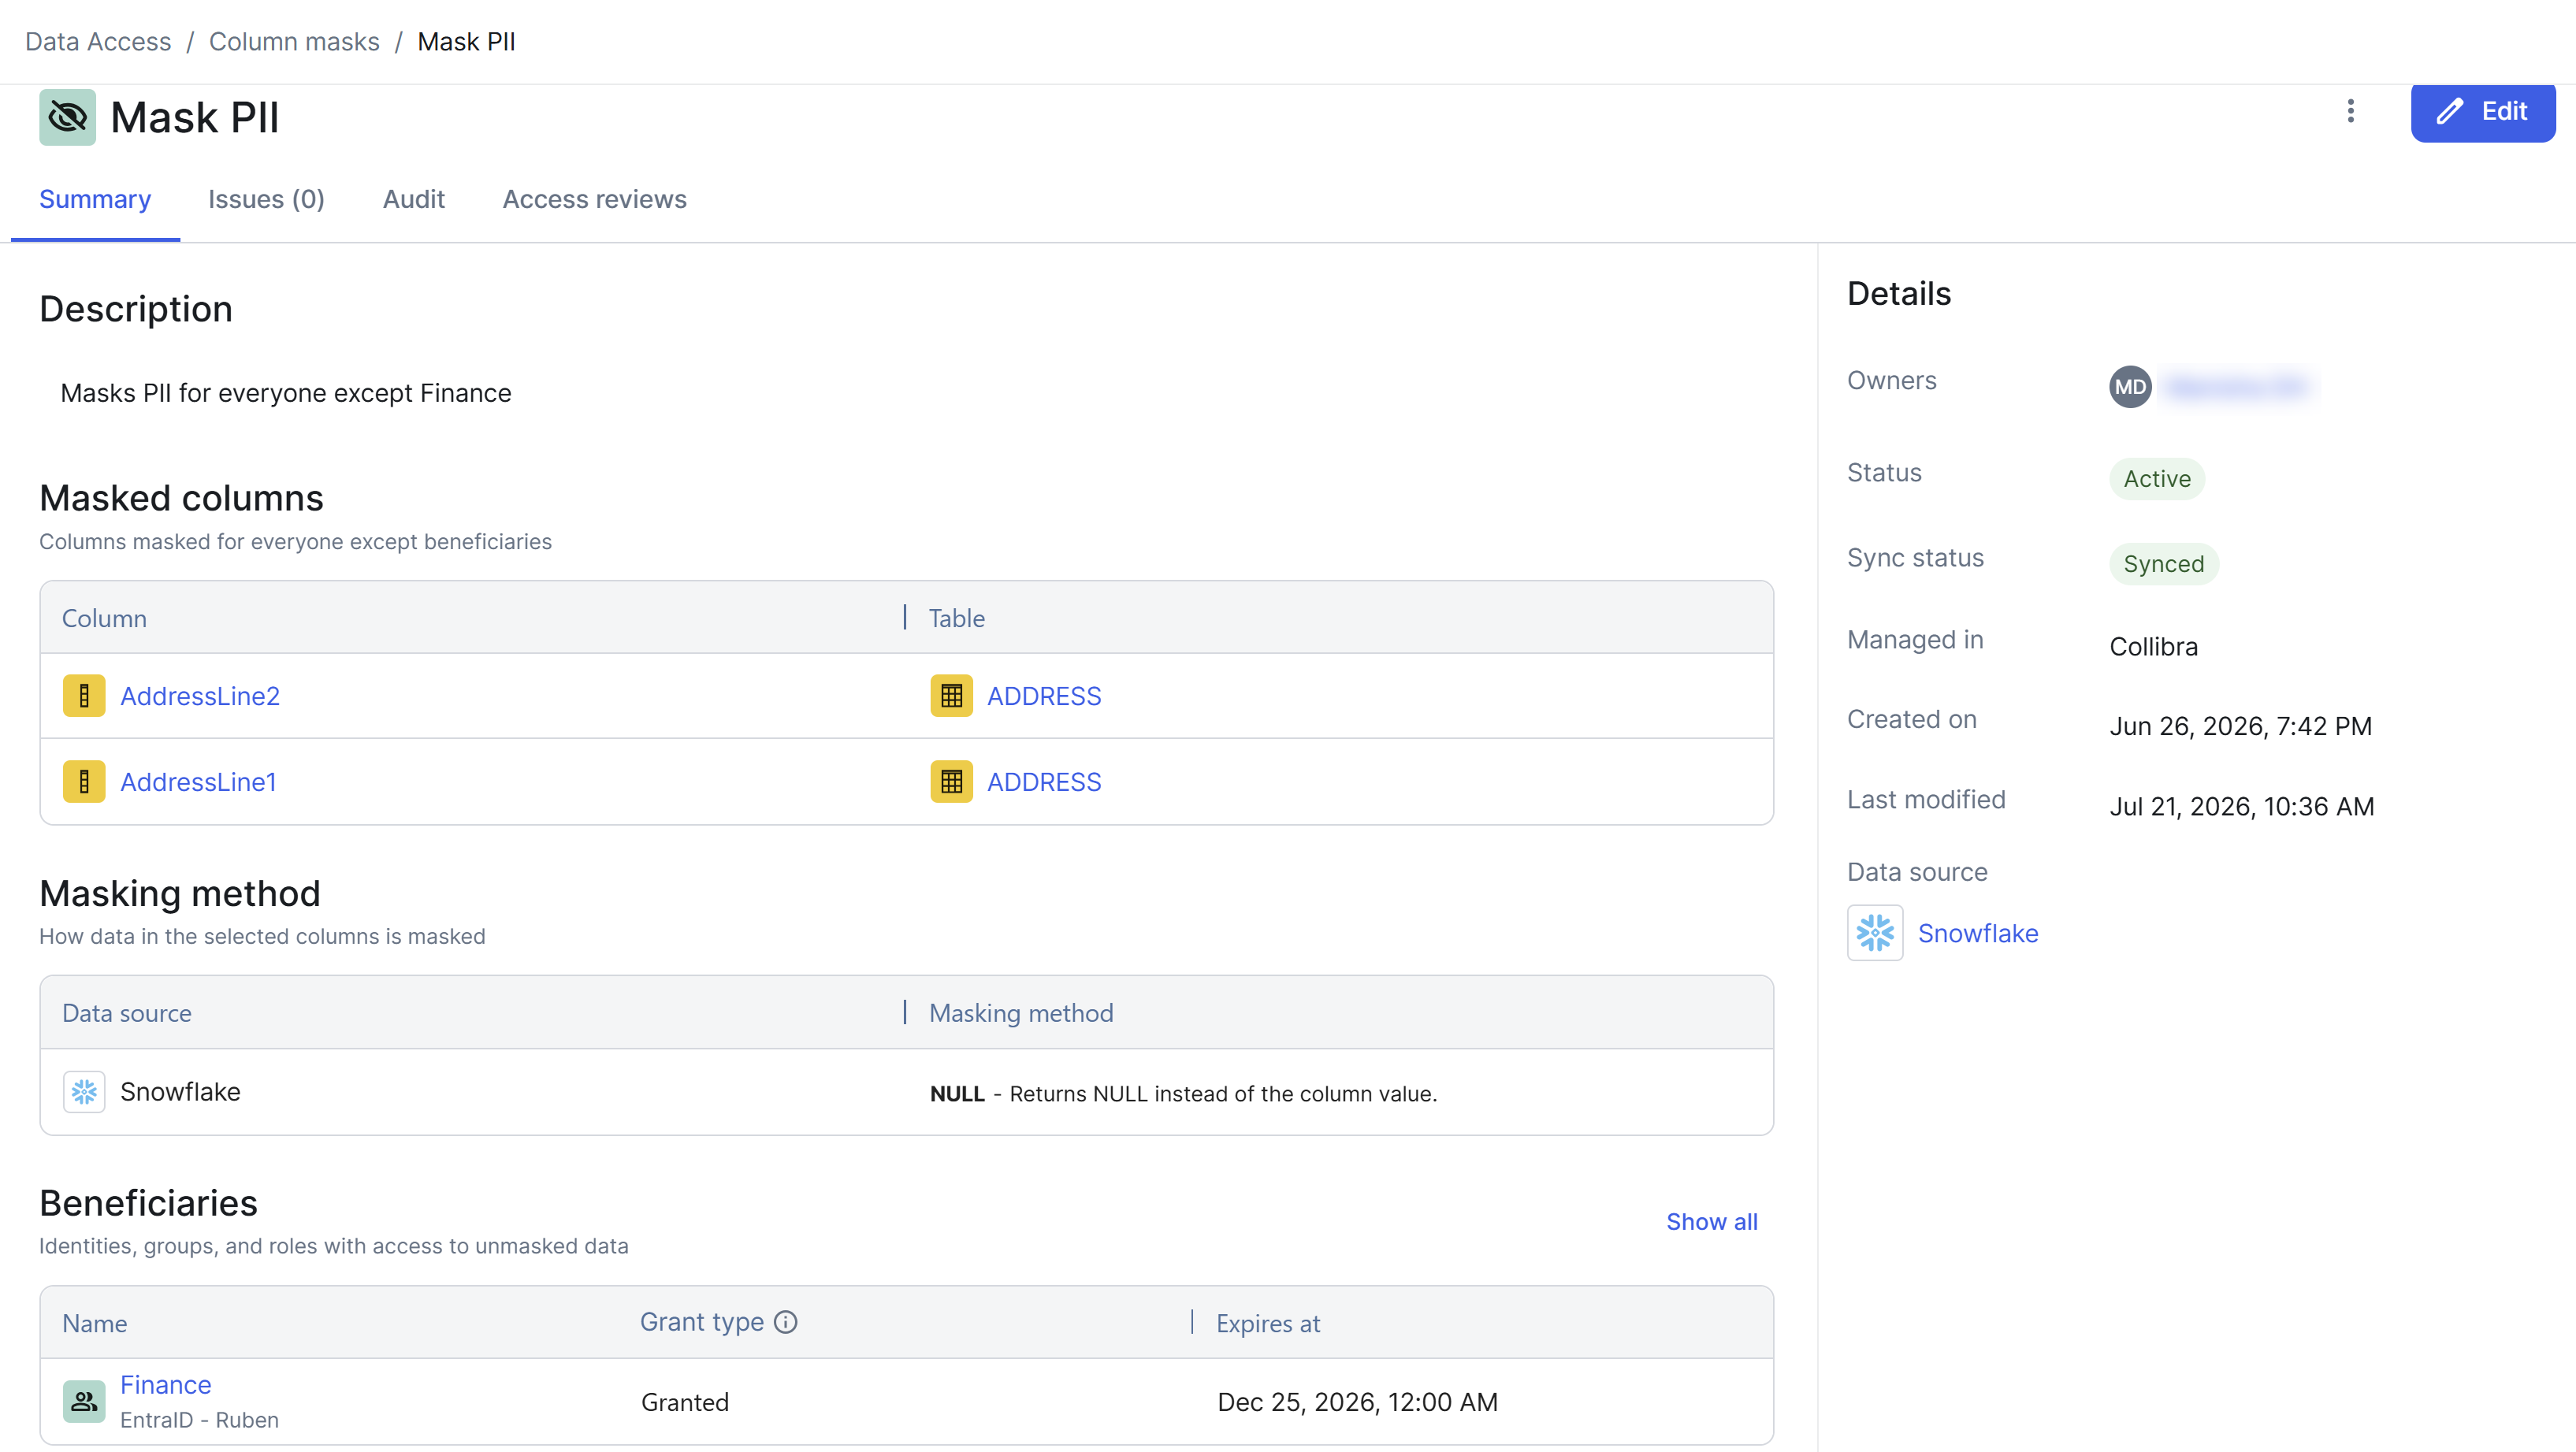
Mask columns
To mask specific columns:
- On the column mask page, in the Masked columns section, click Add.
- In the Add masked columns dialog box, select the Data objects option, and then click Continue.
- In the Add column dialog box, select the columns, and then click Add.
Dynamically mask columns
To mask the columns that meet specific conditions:
- On the column mask page, in the Masked columns section, click Add.
- In the Add masked columns dialog box, select the Dynamic rule option, and then click Continue.
- In the Add dynamic rule dialog box, select the data objects (the scope) from the same data source to include in the dynamic rule, and then click Next.Tip If you see the message Select data objects from the same data source to configure a dynamic rule, it means that the data objects that you selected as the scope of your dynamic rule come from more than one data source. A dynamic rule can be configured only on objects within a single data source. To resolve this, select objects from only one data source. If you need the same dynamic rule for multiple data sources, create a separate dynamic rule for each one.
- In the Which conditions should apply dialog box, click Add expression, specify the required conditions, and then click Save.Tip
- The Key field includes the tag keys that are imported from all the connected data sources.
- You can add more expressions and combine them with AND or OR logic.
- You can preview the results by clicking See results. The results show the data objects that currently meet the tag conditions. This lets you validate the scope of your dynamic rule before it is applied to your data sources.
Change masking method
To change the masking method that the column mask uses in a data source:
- On the column mask page, in the Masking method section, in the Masking method column for the data source, double-click the current value.
- In the Edit masking method for [data source name] dialog box, select the required masking method, and then click Apply.
Grant unmasked access to identities or groups
To grant specific identities or groups unmasked access on the columns:
- On the column mask page, in the Beneficiaries section, click Add.
- In the Which type of beneficiary do you want to add dialog box, select the Identities or Groups option, and then click Continue.
- In the Which [entity] do you want to add dialog box, select the entities, and then click Add.
- In the How should access be granted dialog box, select one of the following options, and then click Add.
Option Description Granted Grants the beneficiaries immediate access to see unmasked data until the expiration date. The default expiration date is Unlimited.
On request Grants the beneficiaries preapproved access to see unmasked data. The preapproval is available until the expiration date, which is Unlimited by default.
Beneficiaries can request access from an asset that is linked to a role. If the role contains a data object whose columns are protected by this column mask, they can submit a request to see unmasked data in the columns. When they submit a request, unmasked access is automatically granted for 14 days, which is the default grant period for preapproved access.
You can change the grant period in the Grant access for field, which appears when you select the On request option.
Dynamically grant unmasked access to identities
Unlike a fixed selection of identities, a dynamic rule keeps a column mask's beneficiaries up to date. With a dynamic rule, identities are granted unmasked access only when they meet your conditions, and lose that access when they no longer do.
To grant the identities that meet specific conditions unmasked access on the columns:
- On the column mask page, in the Beneficiaries section, click Add.
- In the Which type of beneficiary do you want to add dialog box, select the Dynamic rule option, and then click Continue.
- In the Which conditions should apply dialog box, specify the required conditions, and then click Continue.
- In the How should access be granted dialog box, select the Granted or On request option, and then click Add.
Grant unmasked access to beneficiaries of other roles
To grant the beneficiaries of specific roles unmasked access on the columns:
- On the column mask page, in the Beneficiaries section, click Add.
- In the Which type of beneficiary do you want to add dialog box, select the Roles option, and then click Continue.
- In the Which roles do you want to add dialog box, select the roles, and then click Add.
Change when beneficiary access expires
By default, a beneficiary that you add to a column mask keeps the column mask's unmasked access indefinitely. You can give a beneficiary time-limited unmasked access by setting an expiration date and time. When that date and time pass, the beneficiary is automatically removed from the column mask and loses the unmasked access that came through it.
To change the expiration date for a beneficiary:
- On the column mask page, in the Beneficiaries section, in the Expires at column for the beneficiary, double-click the current value.
- In the Set expiration date dialog box, select the new expiration date and time, and then click Apply.