For any asset type, you can configure which initial status you want assets to have when they are created. The Lifecycle management feature is available for all asset types (in preview), except for BI Folder, BI Report, Data Element, Data Structure, and their child asset types. It allows you to configure an asset status progression that represents the lifecycle stages through which assets of that type will evolve.
Prerequisites
- You have a global role with the Product Rights > System administration global permission.
Steps
-
On the main toolbar, click
 →
→
 Settings.
The Settings page opens. - Click the Operating model tab.
Operating Model settings are shown. - In the Asset types table, click the relevant asset type.
The asset type overview page opens. - In the tab pane, expand the Global Assignment tab or the tab of the relevant assignment, and then click Lifecycle.
The Lifecycle page opens. - Ensure that the Activate Lifecycle tracker option is selected.
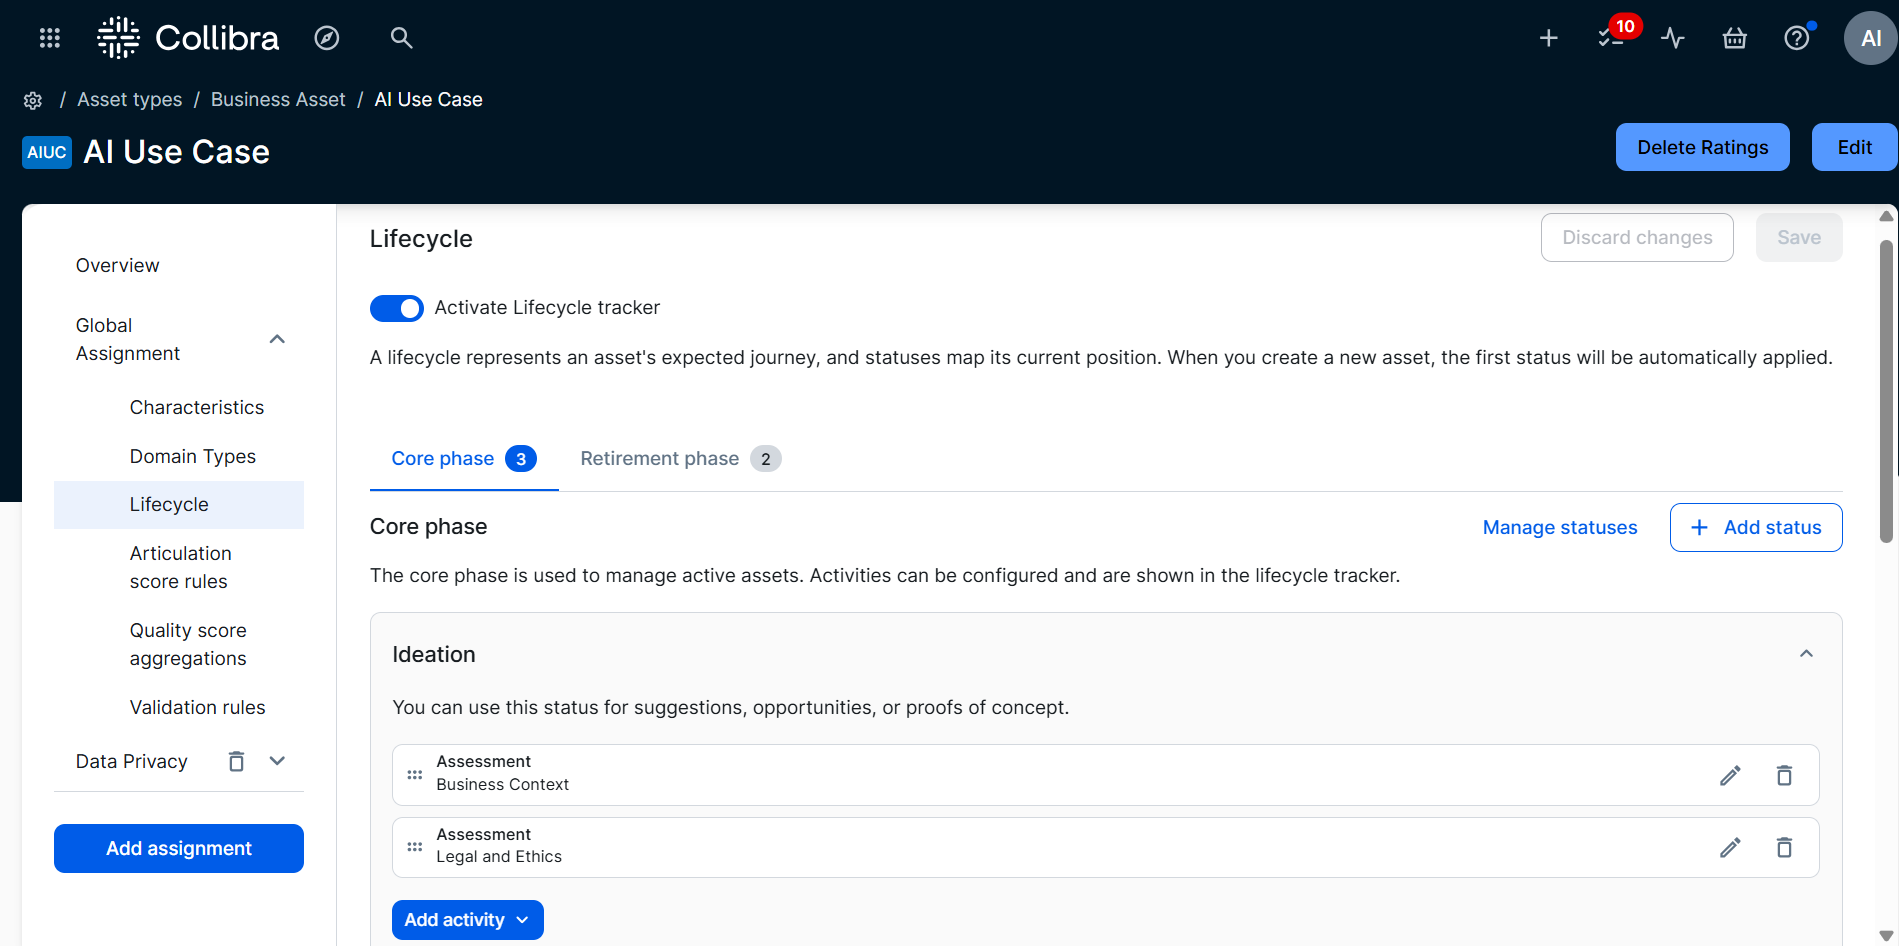
The Core phase tab is open. - Optionally, do any of the following:
Action Steps Result Remove an existing status from the configuration Click
 next to the status you want to remove.
- If you remove a status from the Core phase section, the status is no longer part of the asset lifecycle, and no longer appears in the Lifecycle tracker on the asset page.
- If you remove a status from the Retirement phase section, the status is no longer part of the asset lifecycle. Statuses in the Retirement phase section are never shown in the Lifecycle tracker.
Add a status
- Click + Add status.
The Add a status to phase dialog box appears. - Search for and click the relevant status.
Note If the status you want to add does not exist, you can create it. For complete information, see the "Create a status" section in Manage statuses.
The status is added to the bottom of the section.
- If you add the status to the Core phase, the status becomes part of the asset lifecycle, and appears in the Lifecycle tracker.
- If you add the status to the Retirement phase section, the status becomes part of the asset lifecycle, but statuses in the Retirement phase section are never shown in the Lifecycle tracker.
Configure the asset status progression for both the core and retirement phases.
- Click Manage statuses.
- Click
 next to the statuses and order them to suit your needs.
 - Click Apply.
The first status in the Core phase section is the initial status, meaning it is the status that new assets have when you register a new asset.
- Optionally, click Retirement phase to configure retirement phase statuses.
- Click Save.