Configuring Azure AD B2C user authentication via Graph API
When Microsoft Azure Active Directory B2C (Azure AD B2C) is configured as the primary OAuth2 authentication provider, Data Quality & Observability Classic relies on roles passed in the OAuth2 token from Azure AD B2C to grant user permissions. Microsoft Azure AD B2C does not offer a built-in UI for assigning arbitrary roles to users in custom attributes. Instead, you can use the Microsoft Graph API to populate these attributes.
This topic describes how to populate user roles in Azure AD B2C via Microsoft Graph API. It also provides additional details on role mapping within the Collibra DQ application. This topic assumes you have configured Azure AD B2C for user authentication and your users can successfully authenticate via Azure AD B2C (even if they currently receive a "No Access" message within the Collibra DQ application).
Populating user roles in Azure AD B2C via Microsoft Graph API
The following procedures are performed in the Azure AD B2C portal. You will create an application in Azure AD B2C specifically for interacting with the Microsoft Graph API, and then use it to update user-specific custom attributes (for example, extension_dqroles) that will contain the necessary role information. You must have an active Azure subscription with permissions to register applications and grant API permissions in your Azure AD B2C tenant. For general information on Graph API operations, refer to the Microsoft documentation, Managing Azure AD B2C with Microsoft Graph.
Create an API connector application for Graph API access
This application registration in Azure AD B2C will be used solely for authenticating to the Microsoft Graph API to manage user data.
- Navigate to Azure AD B2C in your Azure portal.
- Under Manage, click App registrations.
- Click New registration.
- Provide a meaningful name for your application (for example, "GraphAPI-Access").
- Under Supported account types, select Accounts in any organizational directory (Any Azure AD directory - Multitenant). This allows it to access Graph API.
- Click Register.
- Make note of the Application (client) ID. You will need it later.
- Select API permissions in the left-hand navigation.
- Click Add a permission.
- Select Microsoft Graph.
- Select Application permissions.
- Grant the following permissions:
- Click Add permissions.
- Click Grant admin consent for {your-tenant-name} and confirm the prompt. This step grants the necessary permissions for the application to act on behalf of the tenant.
User.ReadWrite.All
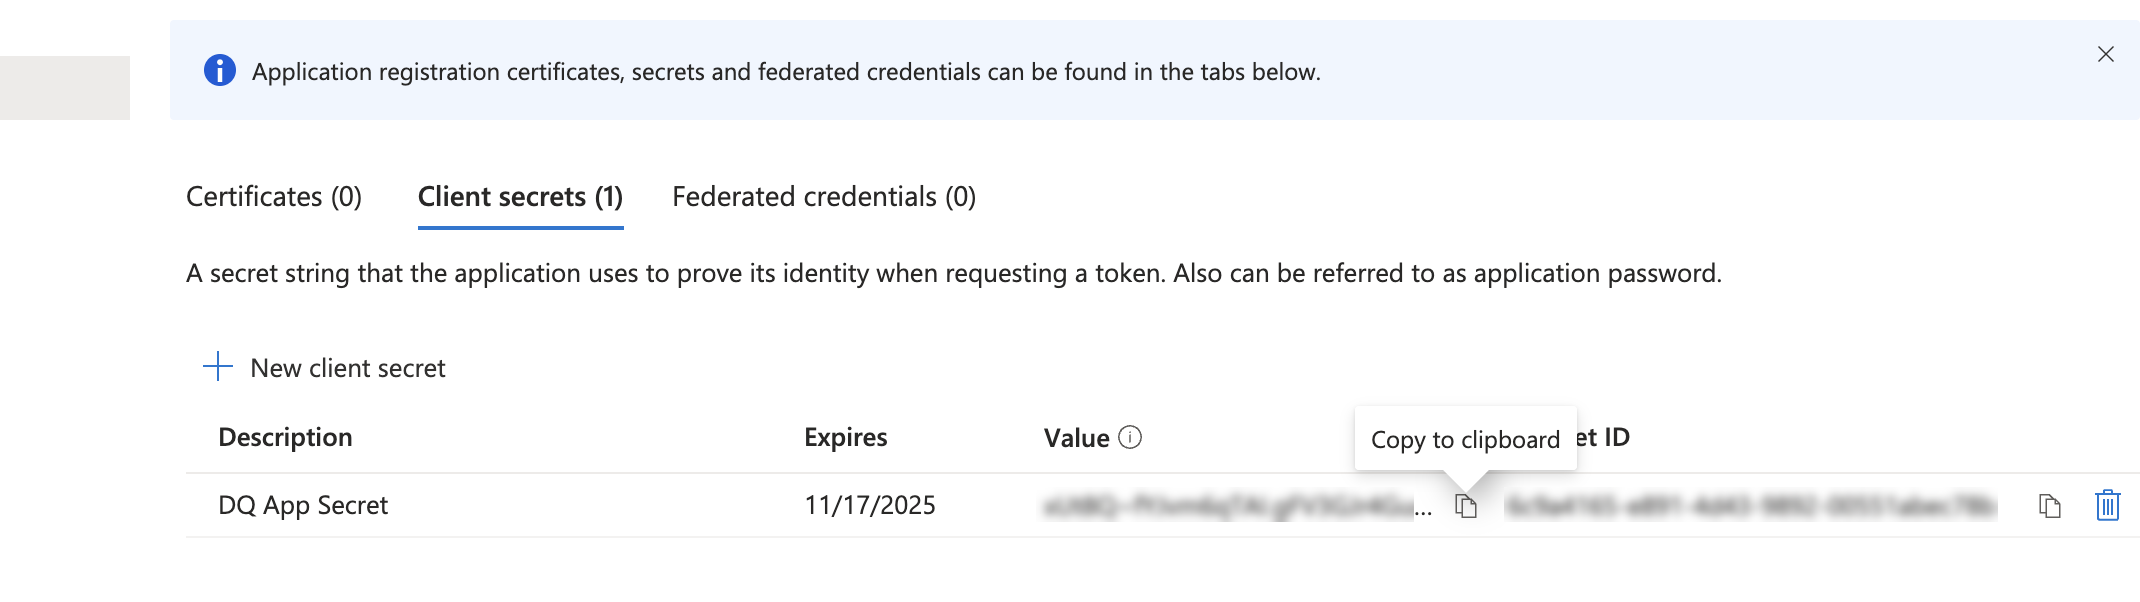
Create a client secret for Graph API access
The client secret is a confidential key used by the GraphAPI application to authenticate with Azure AD B2C.
- In the GraphAPI-Access application's overview page, go to Certificates & secrets in the left-hand navigation.
- Click New client secret.
- Provide a description (for example, "GraphAPI App Secret") and set an expiration (for example, 24 months).
- Click Add.
- The client secret value displays. Copy this value immediately and store it securely. You will need it to obtain an access token for GraphAPI calls. This value will not be visible again once you leave this page.
The client secret value is displayed only once. Copy this value immediately and store it securely.
Obtain an access token for Graph API
You will use both the Application (client) ID and the client secret value of the GraphAPI-Access application to obtain an OAuth2 access token. This example uses Postman as the API client.
- Open Postman.
- Create a new POST request.
- Set the URL to:
- In the request Body, select
x-www-form-urlencodedand add the following key-value pairs: client_id: {The application (client) ID of your GraphAPI-Access application}client_secret: {The client secret value that you copied for your GraphAPI-Access application}grant_type: client_credentialsscope: <https://graph.microsoft.com/.default>- Send the request.
- The response will include an
access_token(a long string). Copy this token. It is valid for a limited time (for example, 1 hour).
<https://login.microsoftonline.com/{your-azure-b2c-tenant-name}.onmicrosoft.com/oauth2/v2.0/token>
Update user custom attribute via Graph API
Next, use the obtained access token to update the custom attribute (for example, extension_dqroles) for a specific user in Azure AD B2C. This attribute will contain the comma-separated roles for that user.
-
Identify the user's Object ID. You need the unique id of the user you wish to update. Use one of the following methods:
- In the Azure portal, go to Azure AD B2C > Users
- Use a GET request via Graph API:
GET <https://graph.microsoft.com/v1.0/users?$filter=userPrincipalName> eq '[email protected]' -
Create a new PATCH request in Postman.
-
Set the URL to:
-
In the request Headers, add:
Authorization: Bearer {access_token from prior step}Content-Type: application/json-
In the request Body, select raw and JSON and enter the following JSON:
{the id of your b2c-extensions-app}: This is the Application (client) ID of a special app that Azure AD B2C automatically creates for extensions. It's usually named something like b2c-extensions-app (it's typically the one with the description, "Do not modify used by AAD B2C for storing user data."). You can find its ID in App registrations in your Azure AD B2C tenant.{custom-role-attribute-name}: The raw name of your custom attribute withoutextension_(for example,dqroles)."{role1},{role2}": The comma-separated list of roles you want to assign to this user (for example,dq-admin,dq-user). These role names should match the Provider Role (Source) values you configured in the Collibra DQ application's role mapping.- In the Authorization tab, choose Bearer Token and paste in the
access_token(a long string) that you obtained above. - Send the request. A successful response will typically have the status code
204 No Content.
<https://graph.microsoft.com/v1.0/users/{id-of-user-to-update}>
{
   "extension_{the id of your b2c-extensions-app}_{custom-role-attribute-name}": "{role1},{role2}"
}(Optional) Verify user custom attribute via Graph API
To confirm the roles have been updated, you can retrieve the user's details via Graph API.
- Create a new GET request in Postman.
- Set the URL to:
- In the request Headers, add:
- Send the request. The response JSON will include all user attributes, including your
extension_{custom-role-attribute-name}with the assigned roles.
<https://graph.microsoft.com/beta/users/{id-of-user-to-update}>
Authorization: Bearer {access_token from prior step}
Test login with populated roles
After populating a user's custom role attribute via Graph API, perform a final login to confirm role access in Collibra DQ.
-
Log out of Collibra DQ.
-
Open the Collibra DQ login page, and click the Azure B2C login button.
-
Sign in with the Azure AD B2C user account for which you just populated the custom role attribute.
-
Upon successful login, the user should have the correct roles and access permissions based on the roles you assigned and mapped. You can verify the assigned roles in the user's profile within the Collibra DQ application.