Add and enable the Migrate schema to Edge workflow
Choose an option below to explore the documentation for the latest user interface (UI) or the classic UI.
About the Migrate schema to Edge workflow
The Migrate schema to Edge workflow allows you to migrate existing Schema assets from Jobserver to Edge. The workflow consists of multiple user tasks, which guide users through the migration process.
- The workflow automatically creates the necessary mappings for existing assets linked to the schema you want to migrate and performs the migration.
To create the mappings, the workflow needs to know the Edge Database asset to migrate to and the schema name to map to. In a first task, the user is asked to enter or validate the Database asset and schema name. - Next, the workflow automatically creates the Edge Catalog synchronization rules for the migrated schema. The user is asked to validate these rules and start the first synchronization of the migrated schema via Edge.
- In the last step of the workflow, the user is asked to remove the existing Jobserver configuration for the migrated schema.
Tip Via the workflow variables, you can define that you want to skip the task to verify and provide the Database and Schema information, or the tasks to synchronize the schema and remove the Jobserver configuration.
Steps
Use the following steps to upload and enable the Migrate schema to Edge workflow in your environment.
Tip To watch a video, follow the Prepare for Edge migration course in Collibra University.
- Go to Collibra Marketplace and download the Migrate schema to Edge workflow ZIP file.
- Open Collibra.
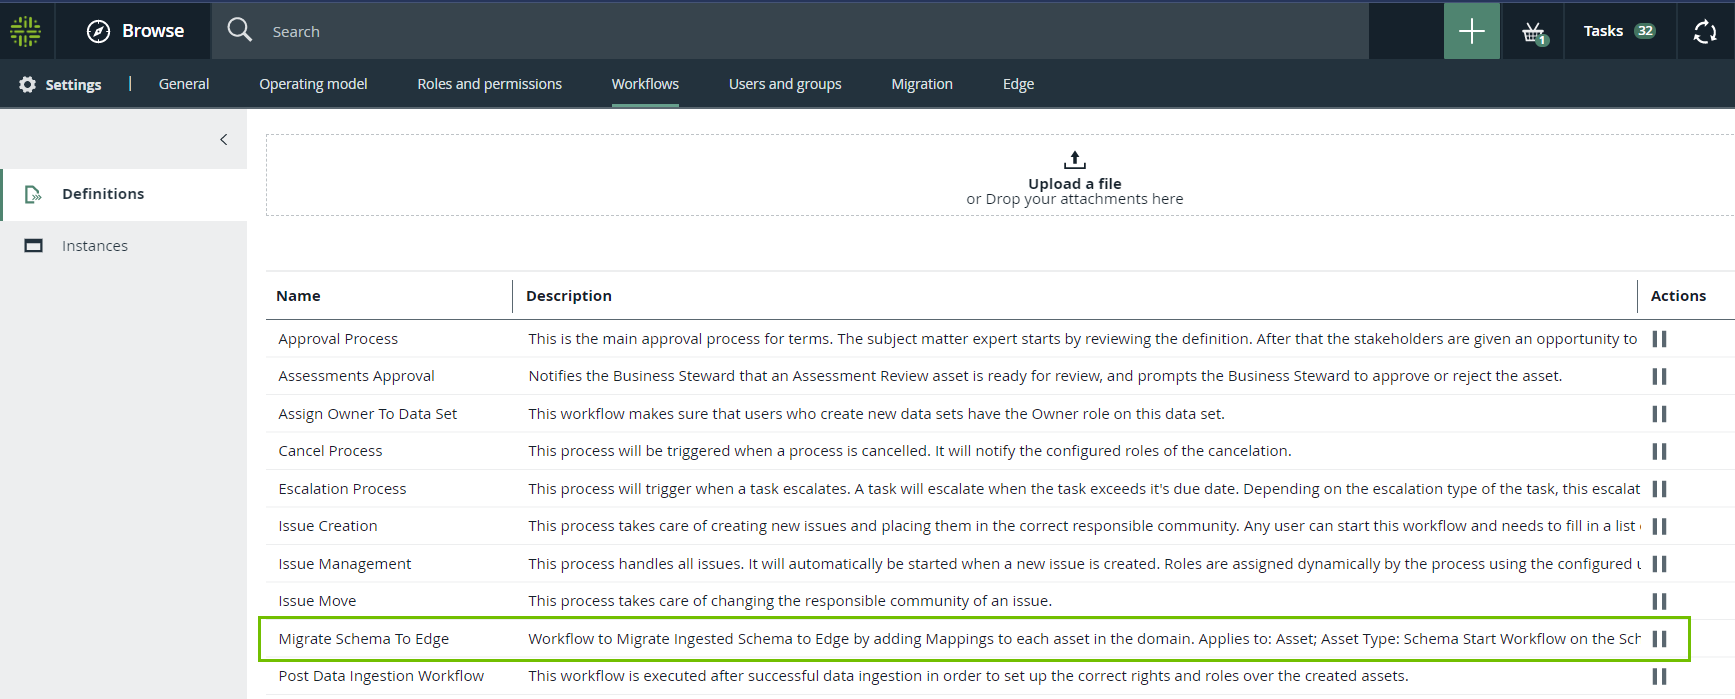
- Go to Settings → Workflows → Definitions.
- Upload the Migration to Edge workflow ZIP file.
Make sure you upload the whole ZIP file, not only the BPMN file.
The Migrate schema to Edge workflow is available in the Workflows list. - Click the Migrate schema to Edge workflow.
The workflow details open. - In Applies To, define that this workflow applies to Schema assets.
- In Applies To, click Edit.
- Change the value from Global to Asset.
- Click Save.
- Click Save.
- In Applies To, click Add Rules.
- In Asset type, select Schema.
- Click Save.


- In Roles, define who can start and stop the workflow, and reassign workflow tasks.
- In Roles, click Edit.
- Define the values.
We recommend to set all values to Owner. - Click Save.
- If needed, change the Variables.
We recommend to keep the default values added to the workflow variables. For information on the variables, go to About the workflow variables. - Click the
 icon for the workflow.
The workflow is enabled and is available for Schema assets.

About the workflow variables
The workflow variables allow you to change the workflow to your needs. The default values ensure users are guided through all migration tasks. We recommend to keep the default values.
| Name | Description |
|---|---|
| useSchemaDisplayName |
By default, the value is set to False. 'True' means that, if we cannot collect the schema name from the Jobserver configuration, we use the Display Name of the Schema asset as the proposed schema name. |
| alwaysValidateTarget |
By default, the value is set to True.
|
| showPostMigrationJobTasks |
By default, the value is set to True.
|
| The due date expressed in duration for the 'selectDatabaseSchema' task. | The due date, expressed in duration, for the first user task in the workflow: 'configureDatabaseSchema'. |
| Send notification emails for the 'selectDatabaseSchema' task. | Indicates if notification emails must be created for the 'configureDatabaseSchema' user task. |
| The escalation time duration for the task 'selectDatabaseSchema'. | The escalation time, expressed in duration, for the 'configureDatabaseSchema' user task. |
| The escalation type for task 'selectDatabaseSchema'. | The escalation type for the 'configureDatabaseSchema' user task. |
| The due date expressed in duration for the 'removeJobserverConfig' task. | The due date, expressed in duration, for the third user task in the workflow: 'removeJobserverConfig'. |
| Send notification emails for the 'removeJobserverConfig' task. | Indicates if notification emails must be created for the 'removeJobserverConfig' user task. |
| The escalation time duration for the task 'removeJobserverConfig'. | The escalation time, expressed in duration, for the 'removeJobserverConfig' user task. |
| The escalation type for task 'removeJobserverConfig'. | The escalation type for the 'removeJobserverConfig' user task. |
| The due date expressed in duration for the 'synchronizeSchema' task. | The due date, expressed in duration, for the second user task in the workflow: 'synchronizeSchema'. |
| Send notification emails for the 'synchronizeSchema' task. | Indicates if notification emails must be created for the 'synchronizeSchema' user task. |
| The escalation time duration for the task 'synchronizeSchema'. | The escalation time, expressed in duration, for the 'synchronizeSchema' user task. |
| The escalation type for task 'synchronizeSchema'. | The escalation type for the 'synchronizeSchema' user task. |
Users can now use the workflow. Go to the migration steps overview for more information.