After you install an Edge site or are granted a Collibra Cloud site, you can create a connection to your MLflow platform.
Do you use a vault?
|
You can use a vault to add your data source information to your Edge site connection. Check the connection property table below to see which information is available for your vault. Vaults are not available for Collibra Cloud sites. |

No vault

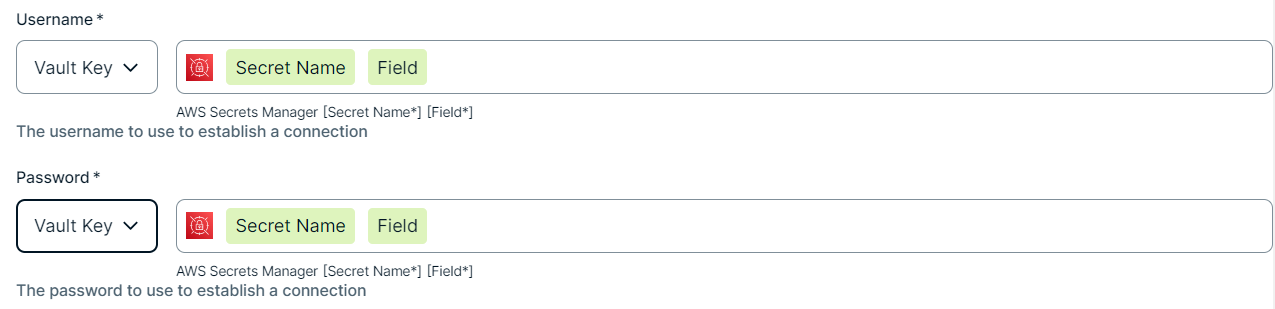
AWS Secrets Manager

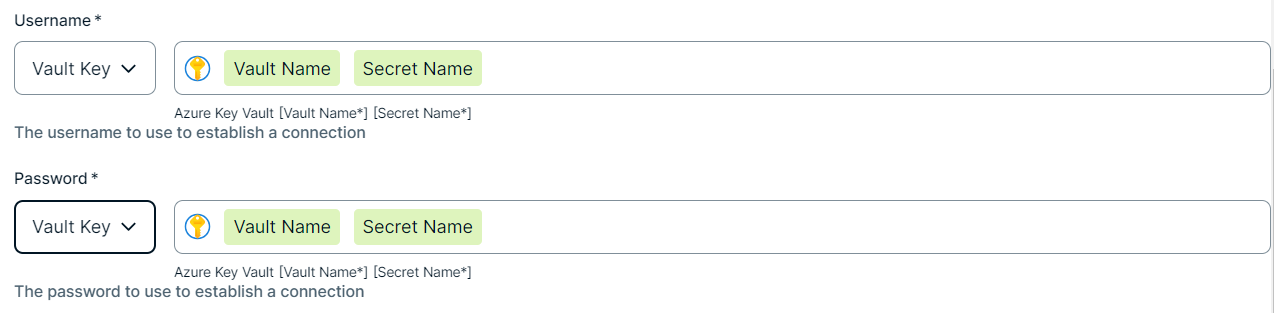
Azure Key Vault
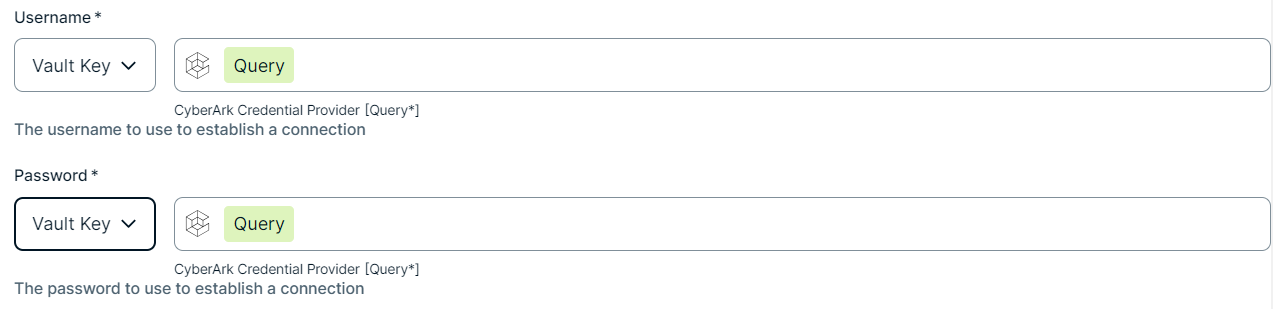
CyberArk Vault
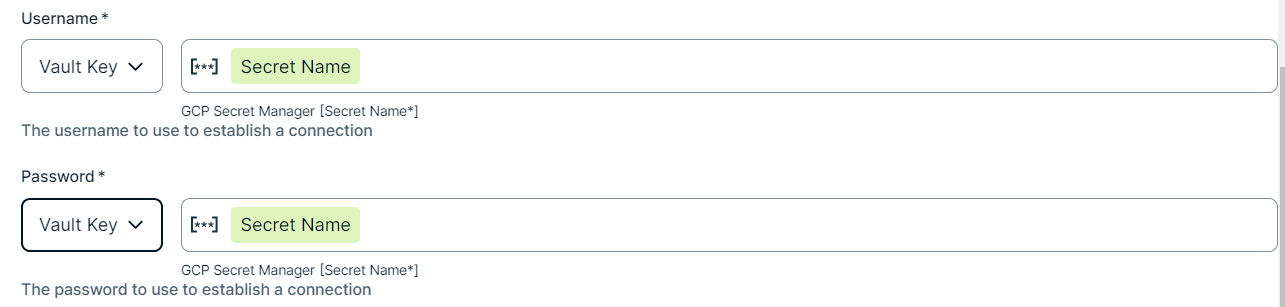
Google Secret Manager

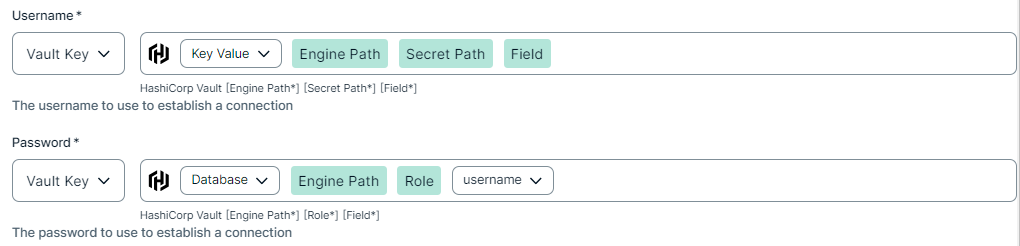
HashiCorp Vault
|
|
|
|
||
|
How to use your vault...
To use your vault, do the following:
To use your vault, do the following:
To use your vault, do the following:
To use your vault, do the following:
To use your vault, do the following:
|
||
Prerequisites
-
You Note
If you have defined an outbound (forward) proxy on your Edge site, the integration will take that configuration into account when connecting to the AI platform. The following proxies are supported, using either a HTTP or HTTPS proxy URL:
- Pass through (No authentication)
- Pass through (Basic authentication)
- No proxy for noProxy hosts defined by Edge
This integration is not supported on Edge sites installed using a Man-in-the-middle (MITM) proxy.
- You have created and installed an Edge site.
- You have added a vault to your Edge site.
- You must at least have the
READpermission for the models you plan to ingest and the following MLflow API end points:
- You have a global role that has the Manage connections and capabilities global permission, for example, Edge integration engineer.
Steps
- Open a site.
-
On the main toolbar, click
 →
→
 Settings.
The Settings page opens. -
In the tab pane, click Edge.
The Sites tab opens and shows a table with an overview of your sites. - In the table, click the name of the site whose status is Healthy.
The site page opens.
-
On the main toolbar, click
- In the Connections section, click Create connection.
The Create connection page appears. - Select the MLflow AI connection to connect to MLflow.
- Enter the required information.
Field Description Required Available for vaults? Name The name of the Edge or Collibra Cloud site MLflow AI connection.
 Yes
Yes No
No
Description The description of the connection.
No
No
Vault The vault where you store your data source values. No
No
MLflow URL The URL to your MLflow platform.
Yes YesAuthentication Type The type of authentication you use. The possible values are Basic Authentication and OAuth.
No
YesUsername The username that you use to sign in to MLflow.
No
YesPassword The password that you use to sign in to MLflow.
No
YesToken URL The token URL of your MLflow OAuth client.
No
YesClient ID The client ID for the OAuth-based authentication on MLflow.
Yes, if you select
OAuth as the authentication type. YesClient Secret The client secret generated for the OAuth-based authentication on MLflow.
Yes, if you select
OAuth as the authentication type. Yes - Click Create.
The connection is added to the Edge or Collibra Cloud site.
You can now add the MLflow AI capability to an Edge or Collibra Cloud site.