Before you can stitch data objects to the assets in Collibra Data Intelligence Cloud, you must prepare the Data Catalog physical data layer to create assets and the database > schema > table > column hierarchy.
If you set the useCollibraSystemName property to true in your lineage harvester configuration file, you also have to create a System asset. For more information, see Automatic stitching.
Important In the global assignment of each asset type included in the
Prerequisites
- You have a global role with the Catalog global permission, for example, Catalog Author.
- You have a role with the following resource permissions on the community:
- Asset: add
- Attribute: add
- Domain: add
- Attachment: add
Note These permissions are always necessary when registering a data source.
Steps
- Create a System asset:
Note Carry out this step only if you have set the
useCollibraSystemNameproperty totruein your lineage harvester configuration file.- Open the product for which you want to create an asset (for example, Business Glossary).
- On the main toolbar, click
 .
.
The Create dialog box appears. - On the Assets tab, click System.
The Create Asset dialog box appears. - Enter the required information.
Field Description Type The asset type of the asset that you are creating.
Domain The domain to which the asset will belong.
Tip Ensure that the domain type of the selected domain is assigned to the selected asset type.
Name A name to identify the asset.
TipYou can simultaneously create multiple
To do so, after typing the name, press Enter, and then type the next name. - Click Create.
A message stating that one or more assets are created appears in the upper-right corner of the page.
- Register a database as data source. You can register a database or an SQL directory as data source.
After registration, the assets of the following asset types are created in Data Catalog:- Schema
- Table
- Column
Tip The full name of your Schema asset must match the exact name of the schema in the data source that you register in the configuration file. - Create a Database asset:
Tip The full name of your Database asset must match the exact name of the database or project, in case of Google BigQuery, that you register in the configuration file.
- Open the product for which you want to create an asset (for example, Business Glossary).
- On the main toolbar, click .
The Create dialog box appears. - On the Assets tab, click Database.
The Create Asset dialog box appears. - Enter the required information.
Field Description Type The asset type of the asset that you are creating.
Domain The domain to which the asset will belong.
Tip Ensure that the domain type of the selected domain is assigned to the selected asset type.
Name A name to identify the asset.
TipYou can simultaneously create multiple
To do so, after typing the name, press Enter, and then type the next name. - Click Create.
A message stating that one or more assets are created appears in the upper-right corner of the page.
- Create a relation between the System asset and the Database asset using the "Technology Asset groups / is grouped by Technology Asset" relation type.
-
In the tab pane, click
Add Characteristic.
The Add a characteristic dialog box appears. - Click Relations.
- Search for and click groups Technology asset.
The Add groups Technology asset dialog box appears. - Enter the required information.
Option Description Assets The name of the .
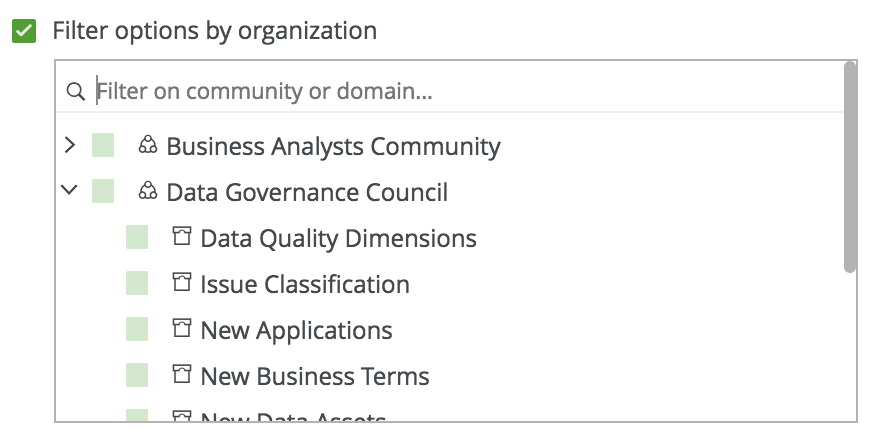
Filter suggested assets by organization
Option to filter the suggestions based on selected communities and domains.
If this option is selected, the organization tree appears. You can then filter and select domains and communities.
Start date Optionally enter the date on which the relation between the assets becomes applicable. Leave this field empty to create a permanent relation. End date Optionally enter the date on which the relation between the assets is no longer applicable. Leave this field empty to create a permanent relation. - Click Save.
-
In the tab pane, click
Add Characteristic.
- Create a relation between the Database asset and the Schema asset using the "Technology Asset has / belongs to Schema" relation type.
-
In the tab pane, click
Add Characteristic.
The Add a characteristic dialog box appears. - Click Relations.
- Search for and click has schema.
The Add has schema dialog box appears. - Enter the required information.
Option Description Assets The name of the .
Filter suggested assets by organization
Option to filter the suggestions based on selected communities and domains.
If this option is selected, the organization tree appears. You can then filter and select domains and communities.
Start date Optionally enter the date on which the relation between the assets becomes applicable. Leave this field empty to create a permanent relation. End date Optionally enter the date on which the relation between the assets is no longer applicable. Leave this field empty to create a permanent relation. - Click Save.
-
In the tab pane, click
Add Characteristic.
What's next?
If you haven't created a configuration file yet, you are now required to create it.
If you created the configuration file and prepared the physical data layer, you can run the lineage harvester to start the technical lineage process.
When the technical lineage process is finished, you can go to the asset page of a MicroStrategy Report or MicroStrategy Data Attribute asset and view the technical lineage.
The lineage harvester also uses scheduled jobs to automate the technical lineage process.