Email alerts let you send emails to specified recipients when an alert condition is met for a given dataset.
Setting Up an Email Server
You can set up the SMTP server using the DQ web application. For more information about setting up an SMTP email server, go to Configure SMTP.
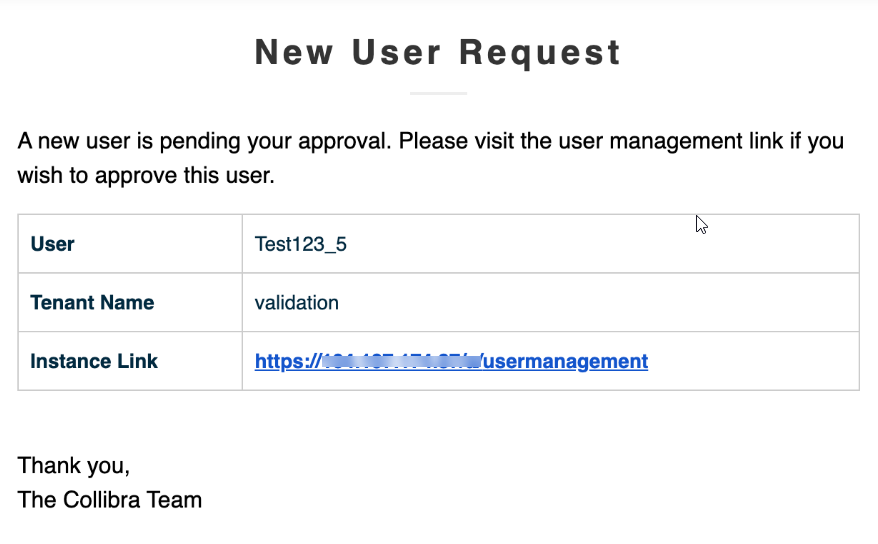
New User Requests
When you receive a new user request, the request includes the username, tenant name, and link to the instance where the request came from, for quick access.
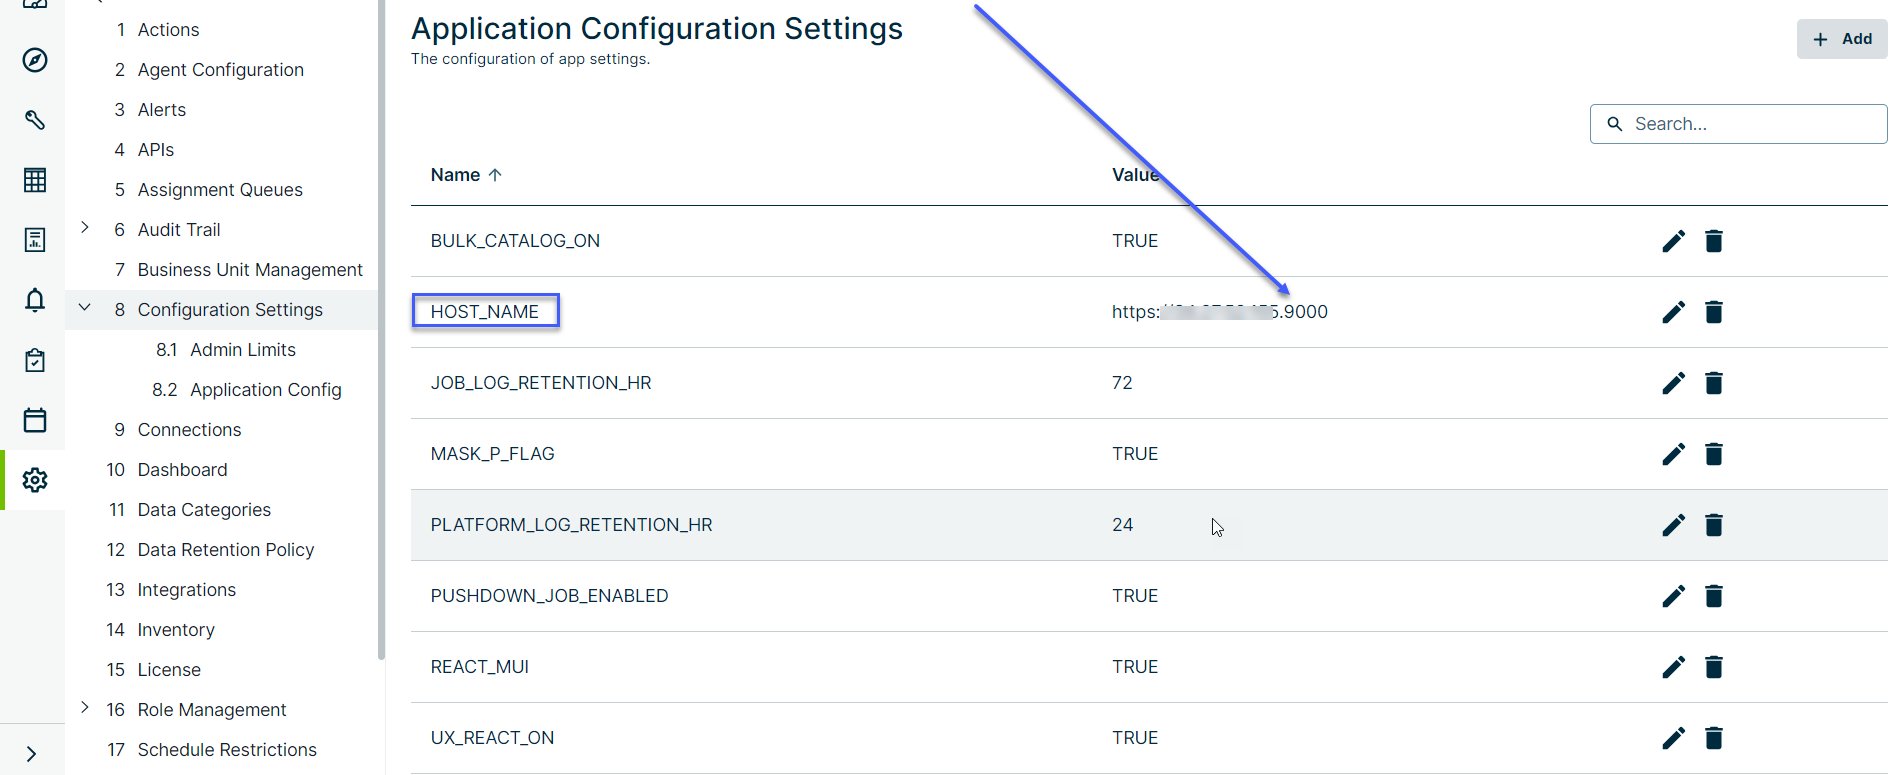
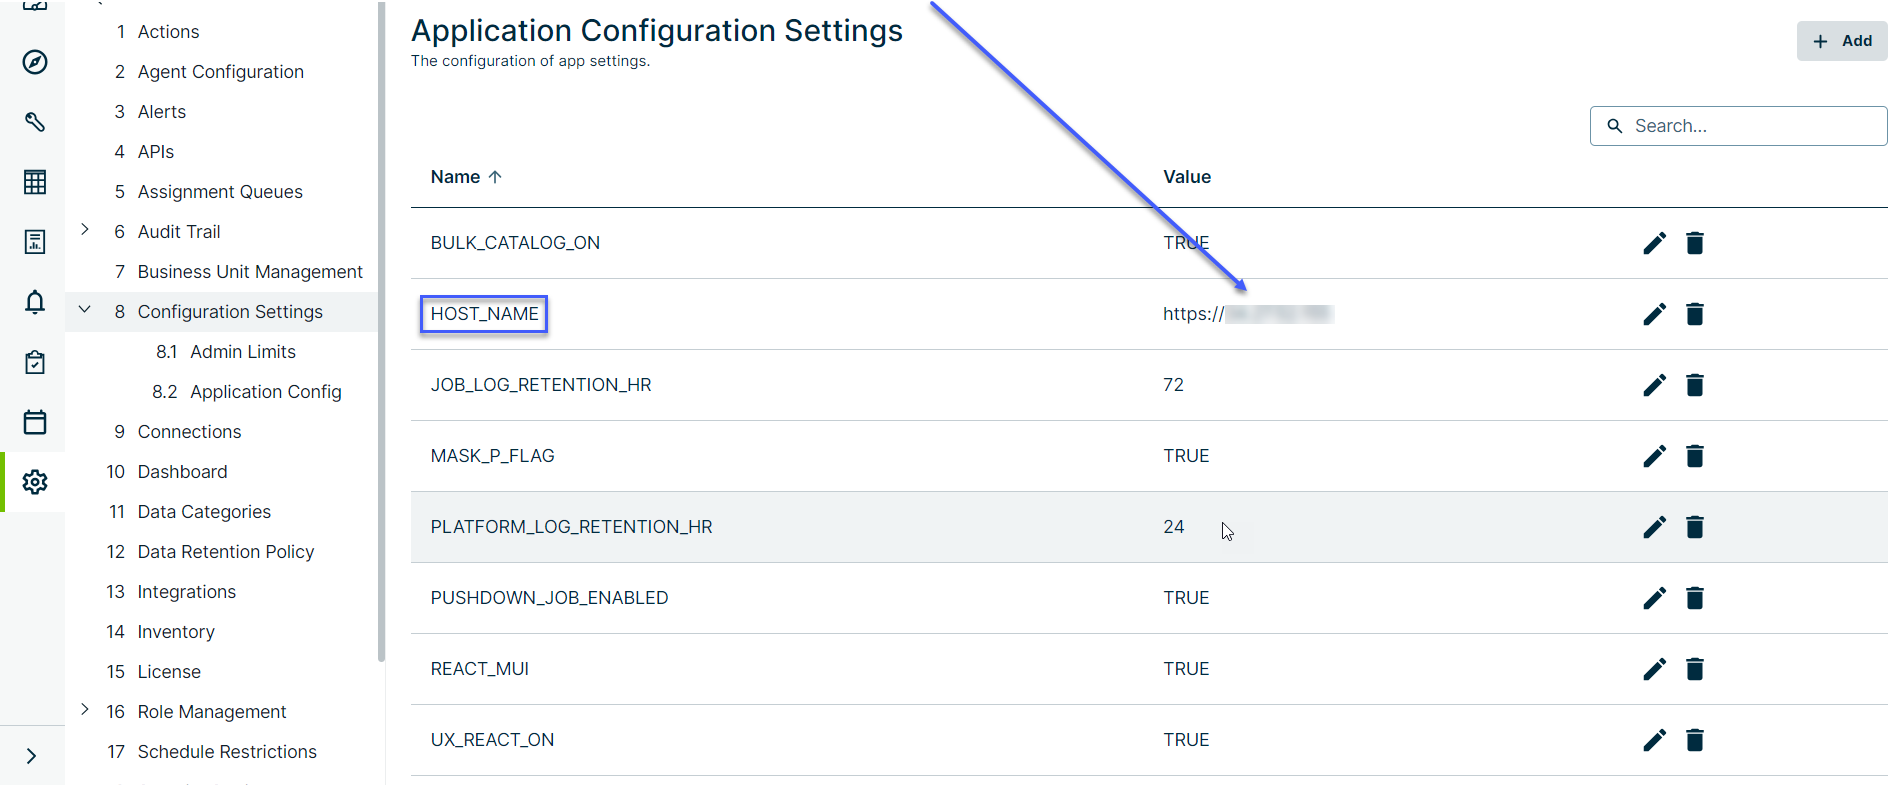
Note If the instance comes from a standalone environment, the port number displays in the URL. If it is from another environment, such as Kubernetes, the port number is not included in the URL. See the following screenshots.
Hostname for Standalone Environment
Hostname for Other Environment
To use the batch name to create a consolidated list of alerts and distribution lists for a set of notifications per dataset, see Adding dataset alerts.
Setting DQ Alerts for Datasets
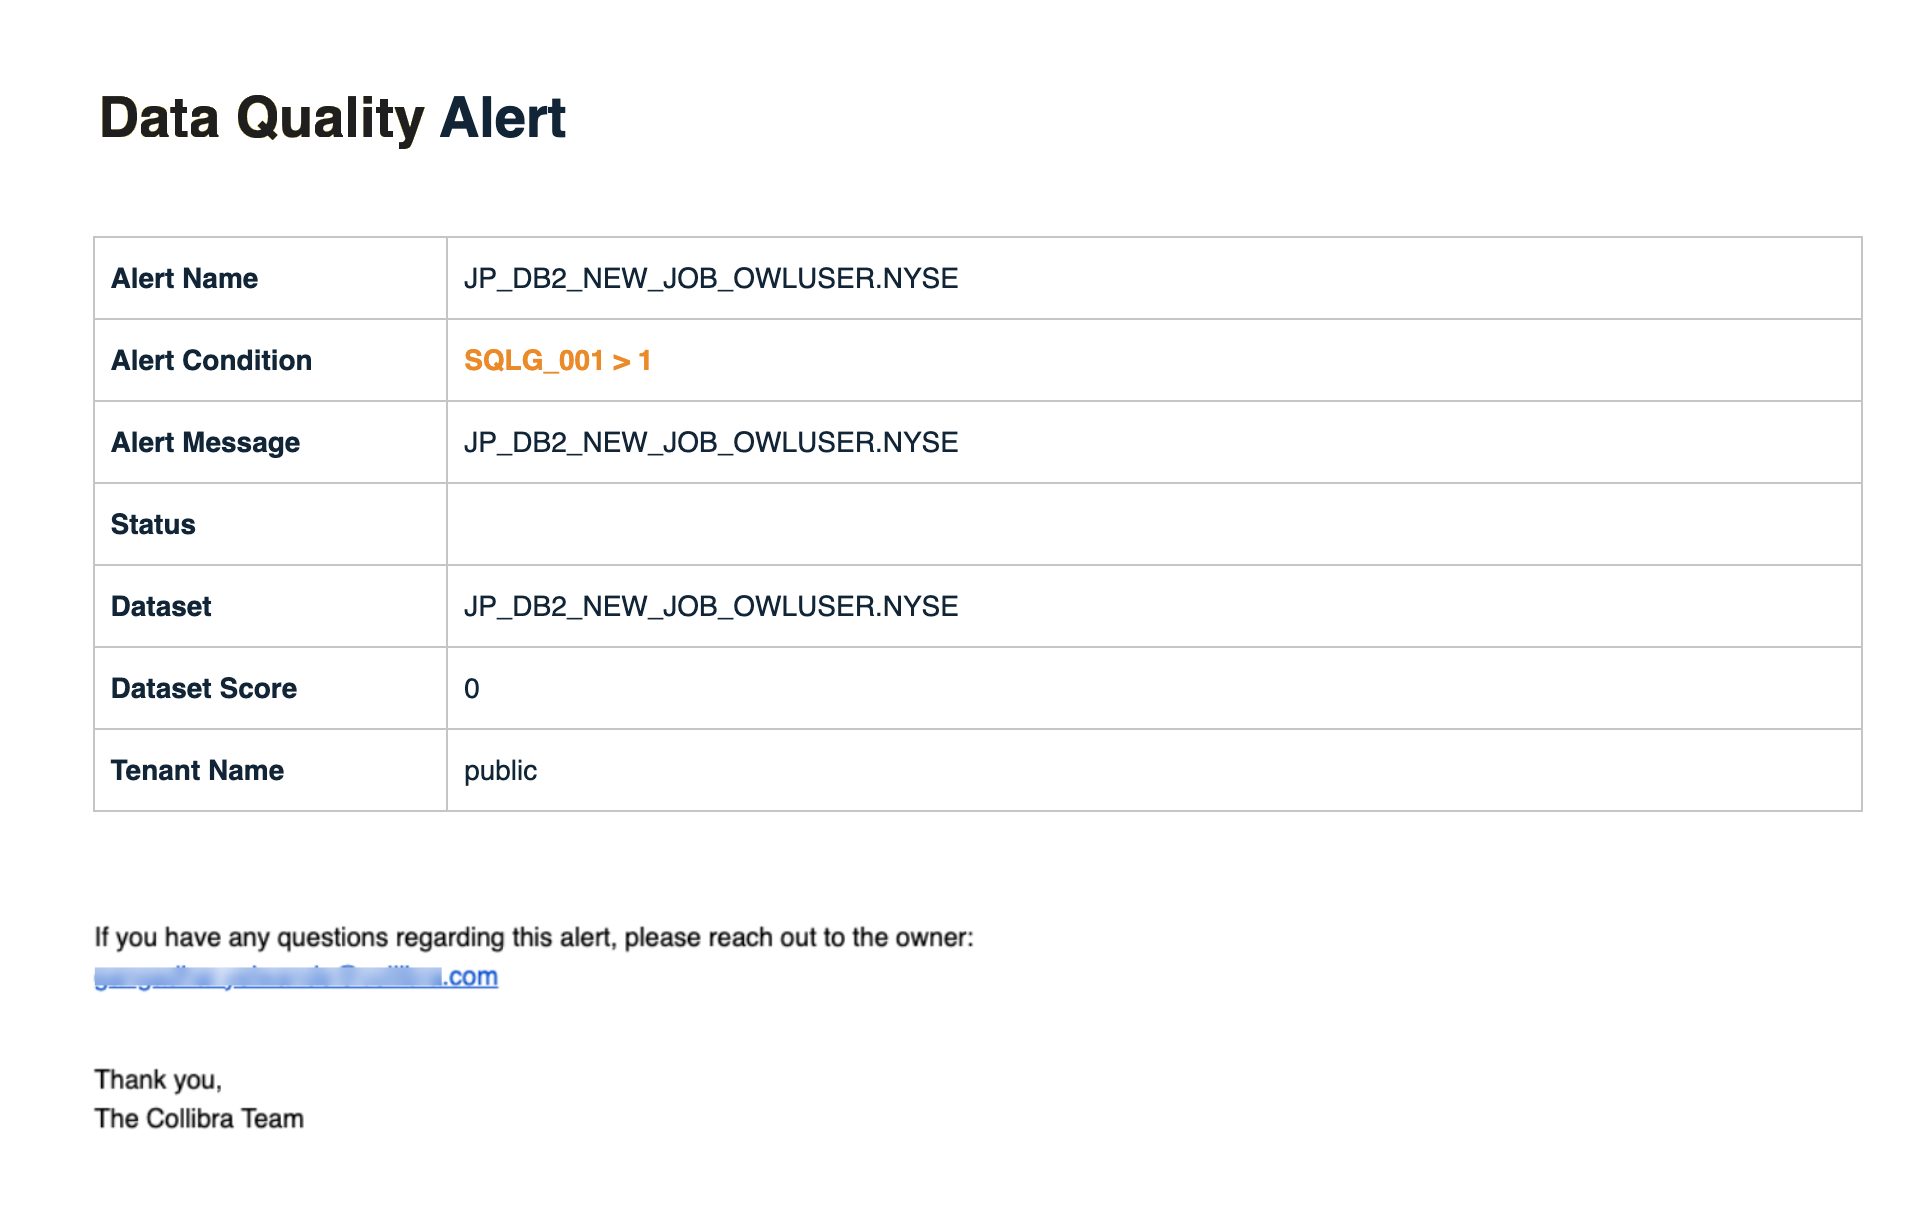
You can set DQ alerts for datasets so that you are notified based on certain conditions that are triggered on the datasets. Below are some examples of what a dataset email looks like in your inbox.
Note Ensure that the SMTP server was set up properly and that your email client didn't mark the email as spam. For more information about setting up SMTP, go to Configure SMTP.
The following example shows a DQ alert email without links from the instance(s)/page(s).
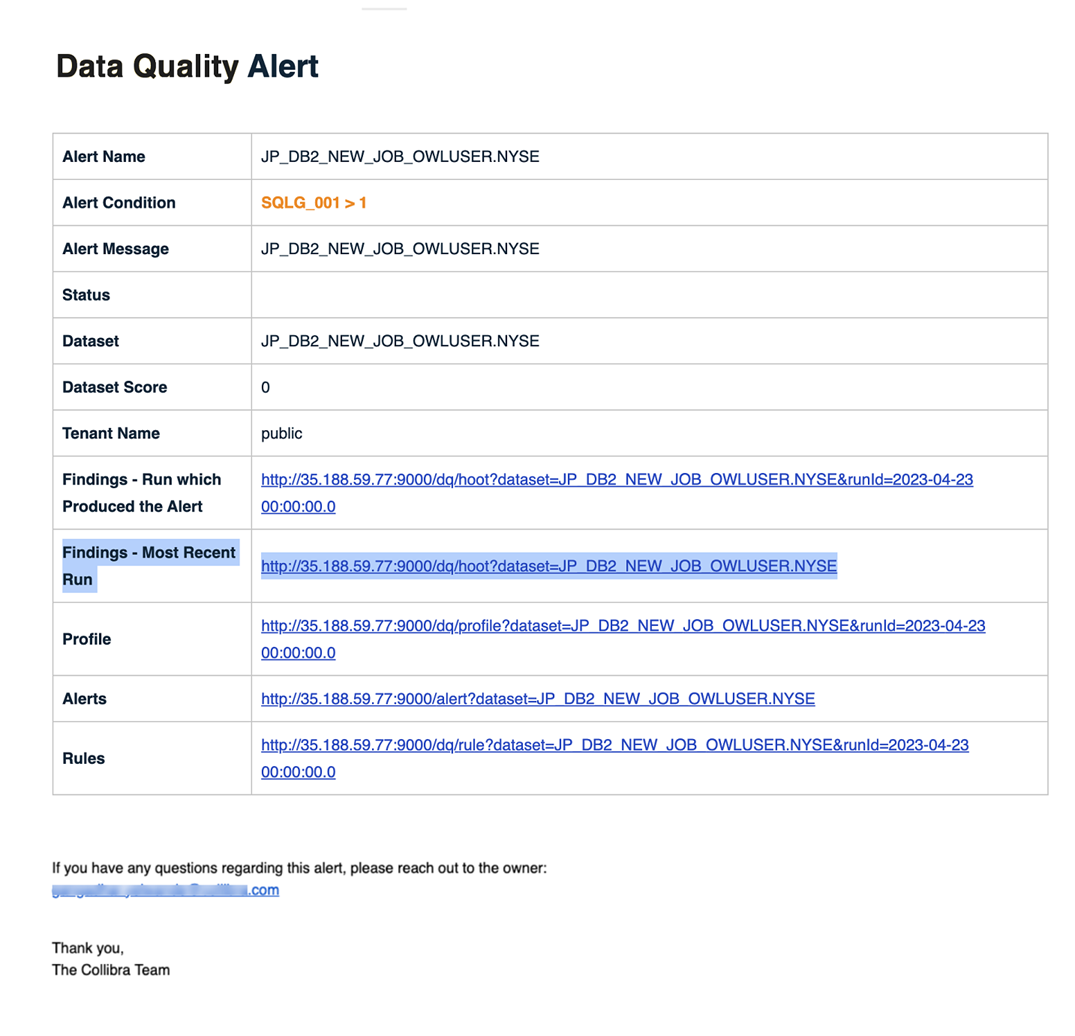
The following example shows a DQ alert email with links from the instance(s)/page(s).
Tip Whenever you click the link for Findings - Most Recent Run, you are always directed to the most recent DQ Job run, no matter what date you click the link. The Rules and Profile pages have similar functionality.
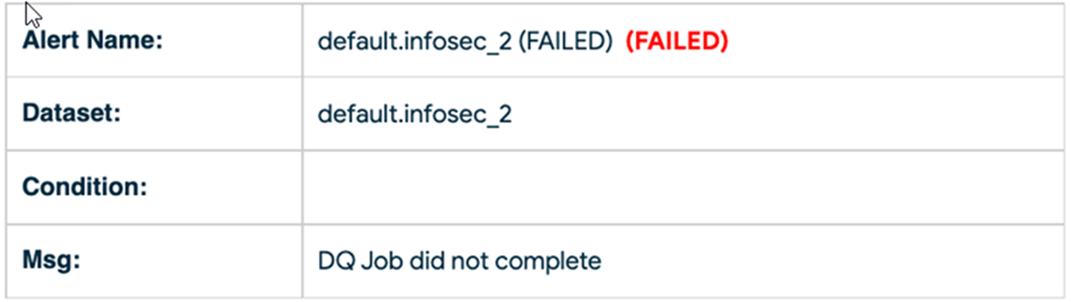
DQ Alerts for Failed Jobs
Another scenario is when the DQ Job fails to run or has an exception and, therefore, never gets the chance to score the data or run the alert condition. This is a failed alert that's automatically sent to the email address based on the Admin/SMTP settings defined in the To Email (Default) fields in the Admin console.
Setting up the Email Server Programmatically
If you are in a notebook or pipeline, you may prefer to use the Scala/Spark API to create the Email Server.
    val emailServer = OwlUtils.createEmailServer("smtp-relay.sendinblue.com", 587)
    emailServer.setUsername("[email protected]")
    emailServer.setPassword("abc")
    emailServer.setCurrentSet(1)
    Util.EmailServerDaoFactory.delete(emailServer)
    Util.EmailServerDaoFactory.insert(emailServer)
Setting Up SMTP Alerts Without a Username or Password
Some alert settings are configurable without requiring a username or password when you set up an email server.
Steps
- Sign into Collibra DQ.
- Hover your cursor over the
 icon and click Admin Console.
The Admin Console opens. - Click Configuration Settings, then click Application Config.
The Application Configuration Settings page opens. - Click + Add in the upper right corner.
Note All fields in the Add a Custom Configuration dialog box are required.
- Enter a name and a value, where Name is the setting name and Value is its corresponding value, such as TRUE or FALSE. The following table shows the available settings and their descriptions.
- Click Save.
- Repeat steps 4–6 for each setting you want to add.
| Setting name | Default value | Description |
|---|---|---|
| mail.debug | TRUE |
When the value is set to TRUE, detailed logging is enabled. When the value is set to FALSE, detailed logging is disabled. |
| mail.smtp.auth | TRUE |
When the value is set to TRUE, the server attempts to authenticate the user using the When the value is set to FALSE, username and password authentication are turned off. |
| mail.smtp.ssl.enable | FALSE |
When the value is set to FALSE, SSL is not used to connect to the SMTP server. When the value is set to TRUE, SSL is used to connect. |
| mail.smtp.starttls.enable | TRUE |
When the value is set to TRUE and TLS is supported by the server, this enables the use of the If TLS is not supported by your mail server, the value of this setting must be set to FALSE. |
| mail.smtp.ssl.trust | * |
If set, and a socket factory hasn't been specified, this setting enables the use of a MailSSLSocketFactory. If its value is set to *, all hosts are trusted. However, if the value is set to a whitespace-separated list of hosts, those hosts are trusted. For all other values, trust depends on the certificate the server presents. Note Collibra DQ does not recommend using the * default value for this property. |
Note These settings are preset to their default values. For example, mail.smtp.auth is preset to TRUE.