Connecting to Temp Files
Prerequisites
To connect to a temp file, you need:
- A file in a supported file format saved on your local drive.
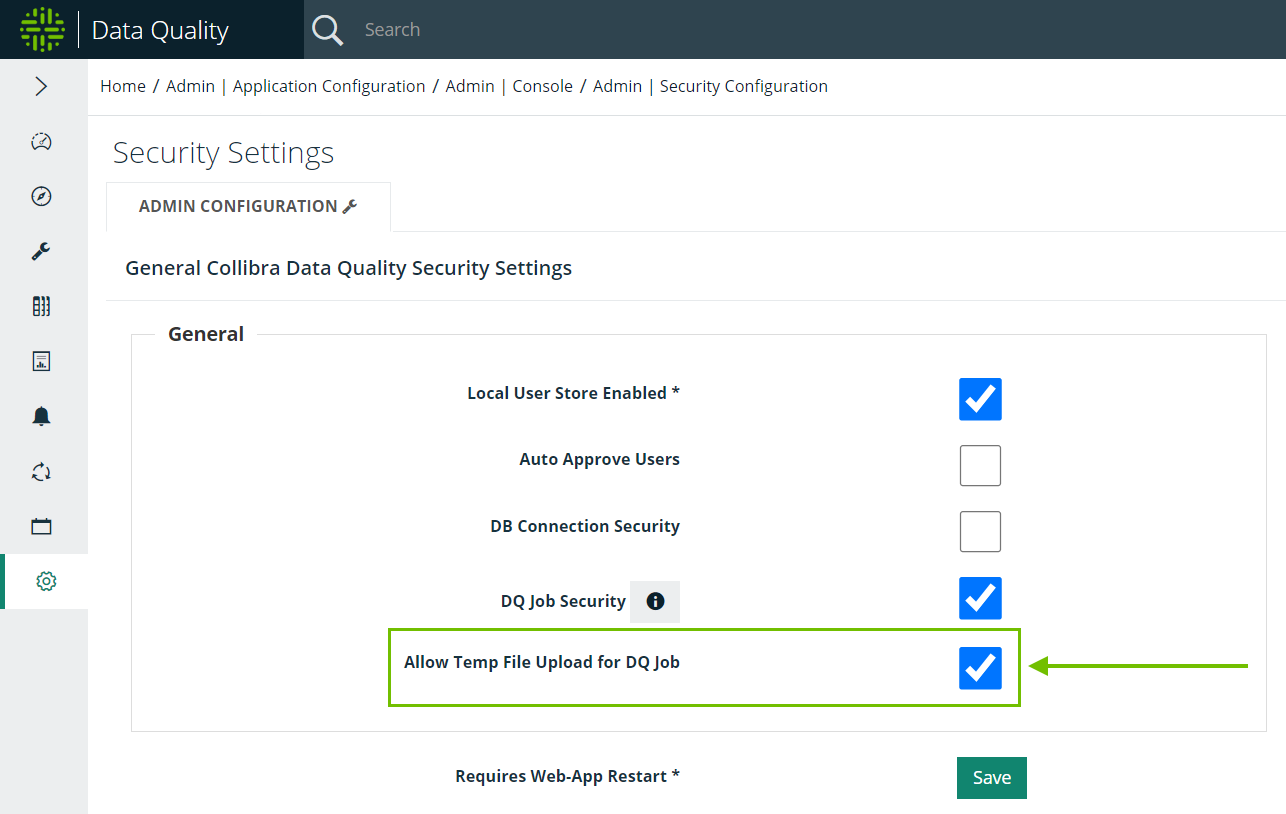
- To verify that the Allow Temp File Upload for DQ Job checkbox under Admin Console > Security Configuration is checked.
Steps
- In the main menu, click the Explorer button. The Explorer expands.
- Click Temp Files. Temp Files expands.
- Click Add Temp File. Upload Temp File alert opens.
- Click Choose File.
- Select a file from your local drive.
- Click Open. Your file loads into the Temp Files folder.
- In the Temp Files folder in the application, select your file.
- Click Create DQ Job.
- Verify your file information and enter the required information.
- Click Load File. The application automatically reads your file and opens Scope & Range.
- Select your DQ layers. You can also leave the defaults set.
- Click Save & Run.
- Enter a unique name and any additional information. Temp files differ from other remote file connections insofar as they do not require an agent to run successfully. This is a legacy component.
- Click the Run CMD tab. This is a bypass step for temp files.
- Click Run. Your job is sent to the Jobs queue.
Warning All temp files are only temporarily stored in the application. At 11:59 PM EST, all temp files uploaded on a given day are automatically removed.
Known Limitations
Temp files do not run successfully on Kubernetes deployments of Collibra DQ. This is a legacy known limitation wherein container environments do not support temp files.