Create a Collibra environment
A Collibra Platform environment contains all the services that makes the Collibra platform operational for end-users. You can create multiple environments for different purposes, for example a development and production environment, but keep in mind that a service is always dedicated to one environment.
Note With Collibra Console, you can manage many nodes, these are the services on which you have installed the Collibra services. These nodes must be installed with the same installer version as your Collibra Console.
Steps
- Open Collibra Console with a user profile that has the SUPER role.
Collibra Console opens with the Infrastructure page.Tip- The default address to access Collibra Console is <server hostname>:4402, but you may have set another port during the installation of Collibra Console. Keep in mind that a firewall of your operating system can block the access to Collibra Console.
- The default credentials to sign in to Collibra Console are Admin / admin. We highly recommend that you edit the Collibra Console administrator's password after signing in for the first time.
-
In the tab pane, click
Add / Create.
The Add / Create dialog box appears. - Click Create environment.
The Create Environment dialog box appears. - Enter a name.
- Click Create Environment.

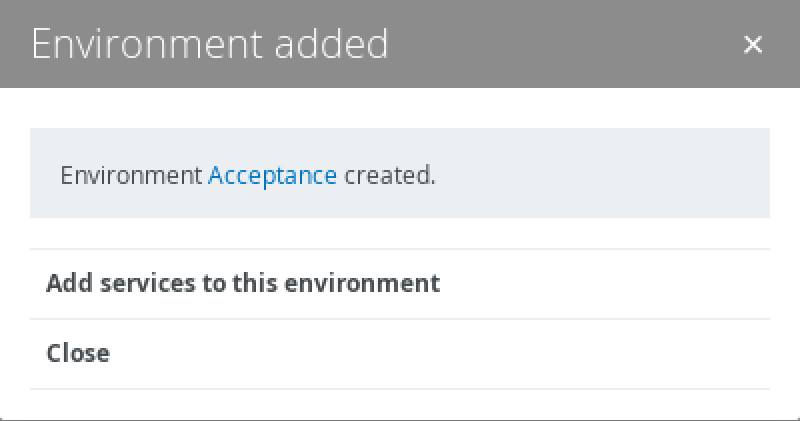
- Do one of the following:
- Click Close to end the wizard.
- Click Add services to this environment to immediately add services.Note If the node that hosts the service you want to add is not yet available in Collibra Console, click Add services from a new node under the drop-down list and add the node details.