You want to import two out-of-the-box data classes.
Prerequisites
You have the required permissions.
Steps
-
On the main toolbar, click
 →
Stewardship.
→
Stewardship. - Go to Data Classification → Data classes.
- Click Import.
A dialog box opens, listing all the out-of-the-box data classes and their status. For information on the available statuses, go to About out-of-the-box data classes. - Select Date: date and Phone number.
Note The Date: date data class is based on a regular expression for data and on a data type. This means that a column will be classified as Date: date if the data type of the column in the data source is a date or of the data in the column matches the regular expression.
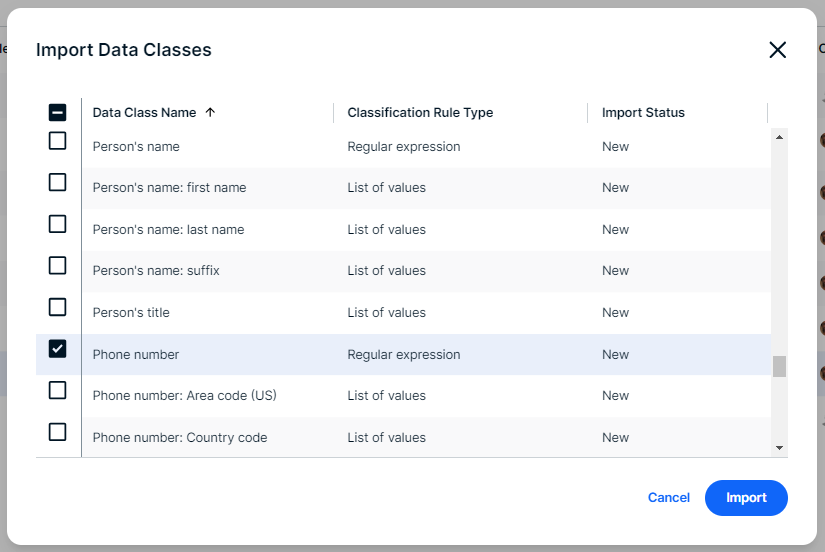
- Click Import.
The data classes are added.
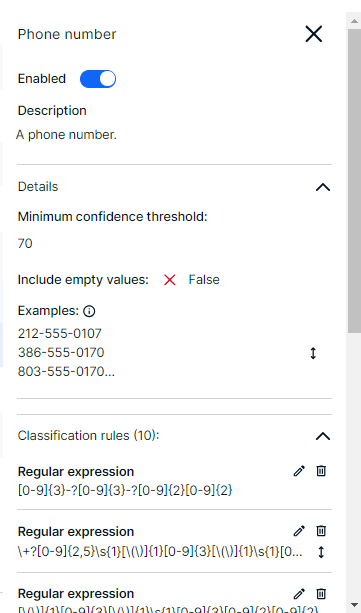
Click the data class preview, to view the details.
-
Start the automatic classification.
- Open a Table asset.
- Select Actions → Classify.
The data classification process starts. For more information, go to Automatically classify assets
If a data class matches a column in the Table asset, a data classification suggestion is assigned to the Column asset with a confidence percentage. For more information, go to accept and reject data classification suggestions.
You can also configure a data class that is based on a list of values.