Classify columns
By classifying columns, Collibra's Automatic Data Classification predicts their data structures, after which, you can accept or reject the prediction.
Note This information is specific to the Cloud Data Classification Platform. For information on classifying via Edge, see About profiling and classification via Edge.
You can classify columns via the:
Tip You can also use the physical data connector to manually select a data class for individual columns.
Prerequisites
- You have a global role with the Catalog global permission, for example Catalog Author.
- You have created a support ticket via Zendesk to access to the Automatic Data Classification platform.
- You have configured the Cloud Data Classification Platform.
- You have the correct permissions to classify tables and columns.
- You have registered a data source, including these options:
- Store Data Profile
- Store Sample Data
- Data Catalog experience is enabled in the DGC service configuration.
This will give you access to the improved Schema asset page.
Via the Database asset page
- Open the Database asset that contains the tables and columns in the schema you want to classify.
-
On the main menu, click
 , and then click
 Catalog.
The Catalog Home opens. - In the subpages, click Technology Assets.
- Filter on the Database asset type.
-
On the main menu, click
- Open the relevant database, and then click Actions → Classify.
You can follow the status of the classification in Activities. - Open the database asset with the classified columns.
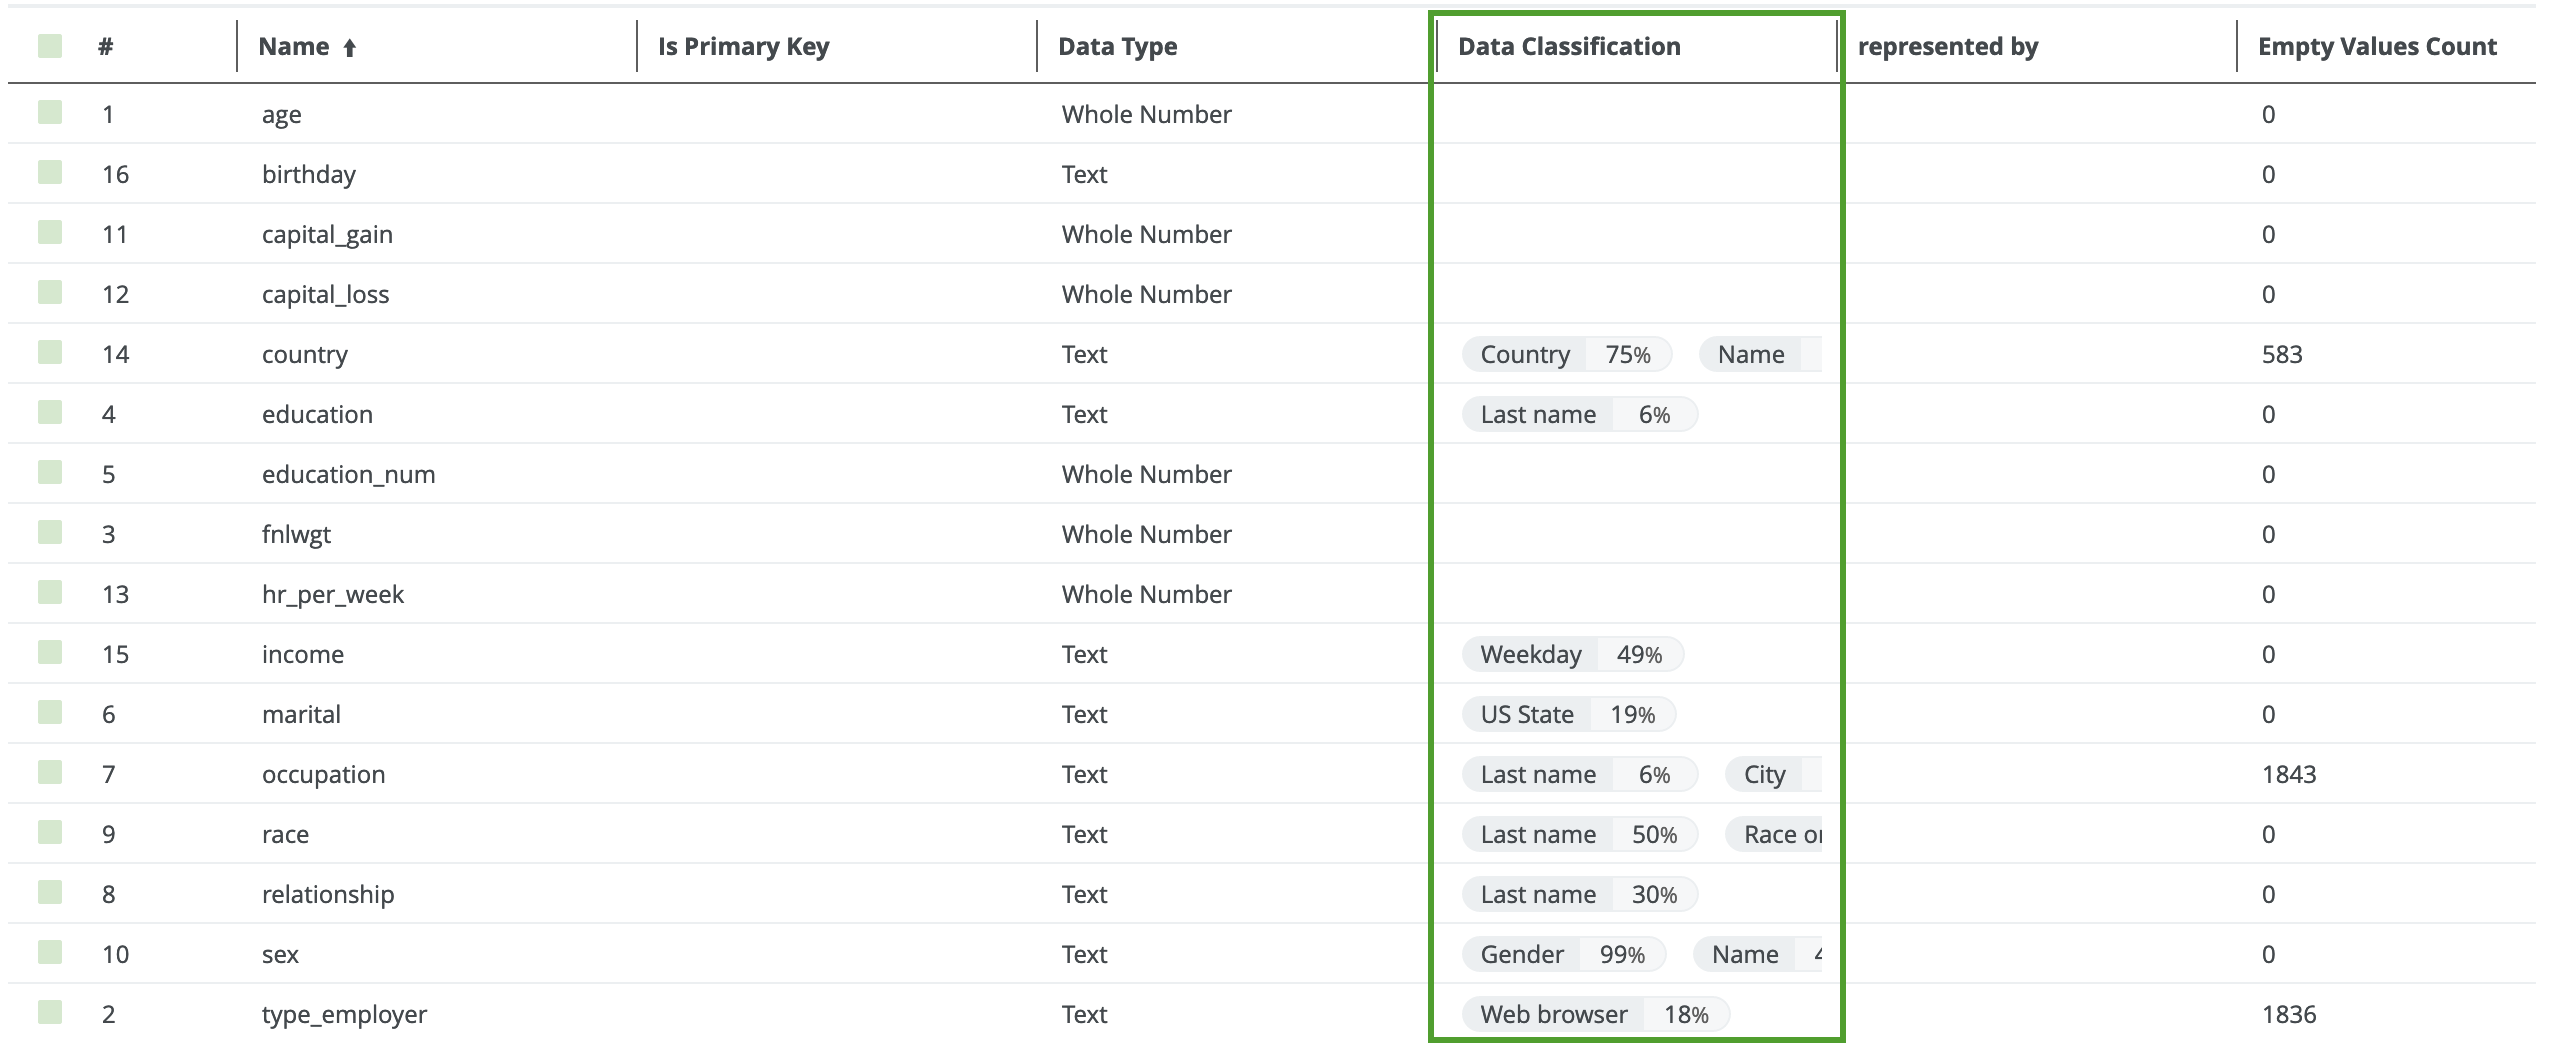
- Add the Data Classification column to the table.
In the Data Classification column, you find the suggested data classes.
- Hover over the classification percentages and accept (
 ) or reject (
 ) the suggested data class.
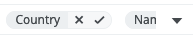
- Accepting the classification leaves the classification in the list.
- Rejecting the classification removes the result from the data classification list.
Via the Schema asset page
- Open the Schema asset that contains the tables and columns that you want to classify.
-
On the main menu, click , and then click
Catalog.
The Catalog Home opens. - In the subpages, click Data Sources.
- Click the relevant schema.
-
On the main menu, click
- Click the Tables tab.
- Select one or more tables from the schema.
- To classify all columns in the table, click Actions → Classify.
Tip To classify one or more specific columns, select the columns, then click Actions → Classify.
You can follow the status of the classification job in Activities. - Open the Table asset with the classified columns.
- Add the Data Classification column to the table.
In the Data Classification column, you find the suggested data classes.
- Hover over the classification percentages and accept () or reject () the suggested data class.
Via the Table asset page
- Open a Table asset that has columns you want to classify.
- On the Table asset page, do one of the following:
- To classify all columns in the table, click Actions → Classify in the upper right corner.
- To classify specific columns in the table, select the columns and click Actions → Classify in the upper right corner.
You can follow the status of the classification job in Activities.
- Open the relevant table, and then add the Data Classification column to the table.
In the Data Classification column, you find the suggested data classes.
- Hover over the classification percentages and accept () or reject () the suggested data class.